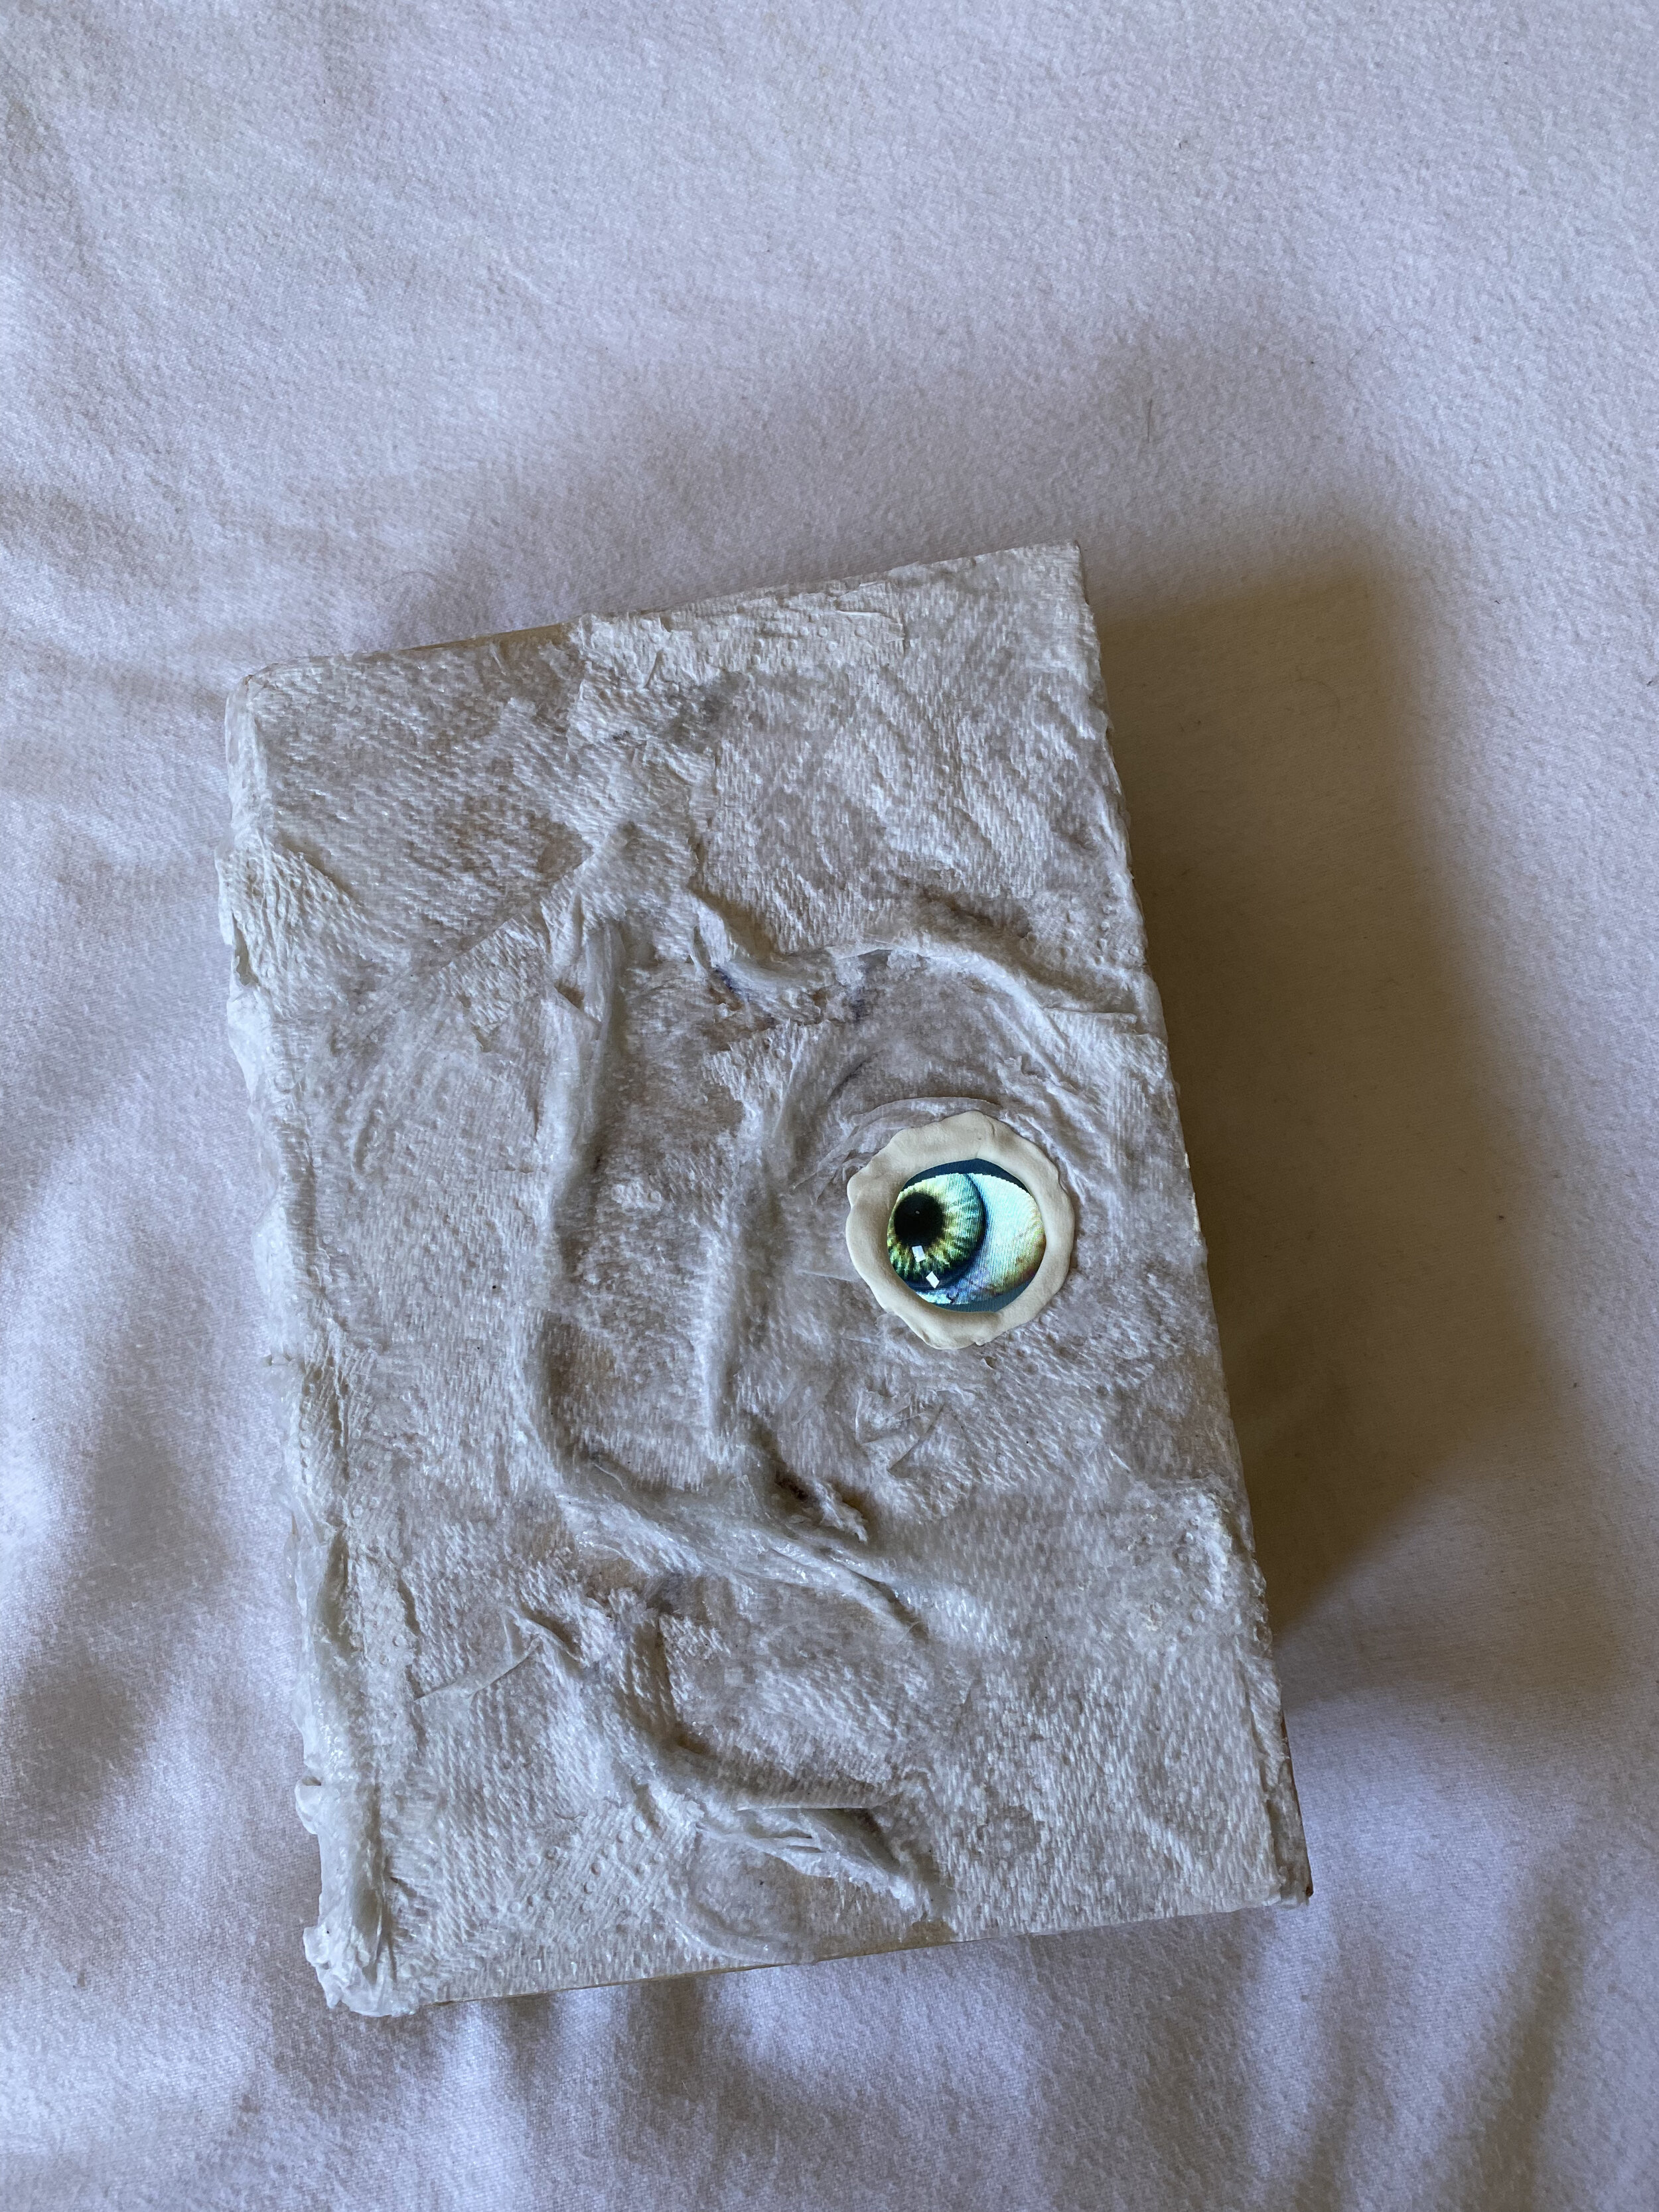
DIY Hocus Pocus Book

Ingredients
Crayola Molding Clay
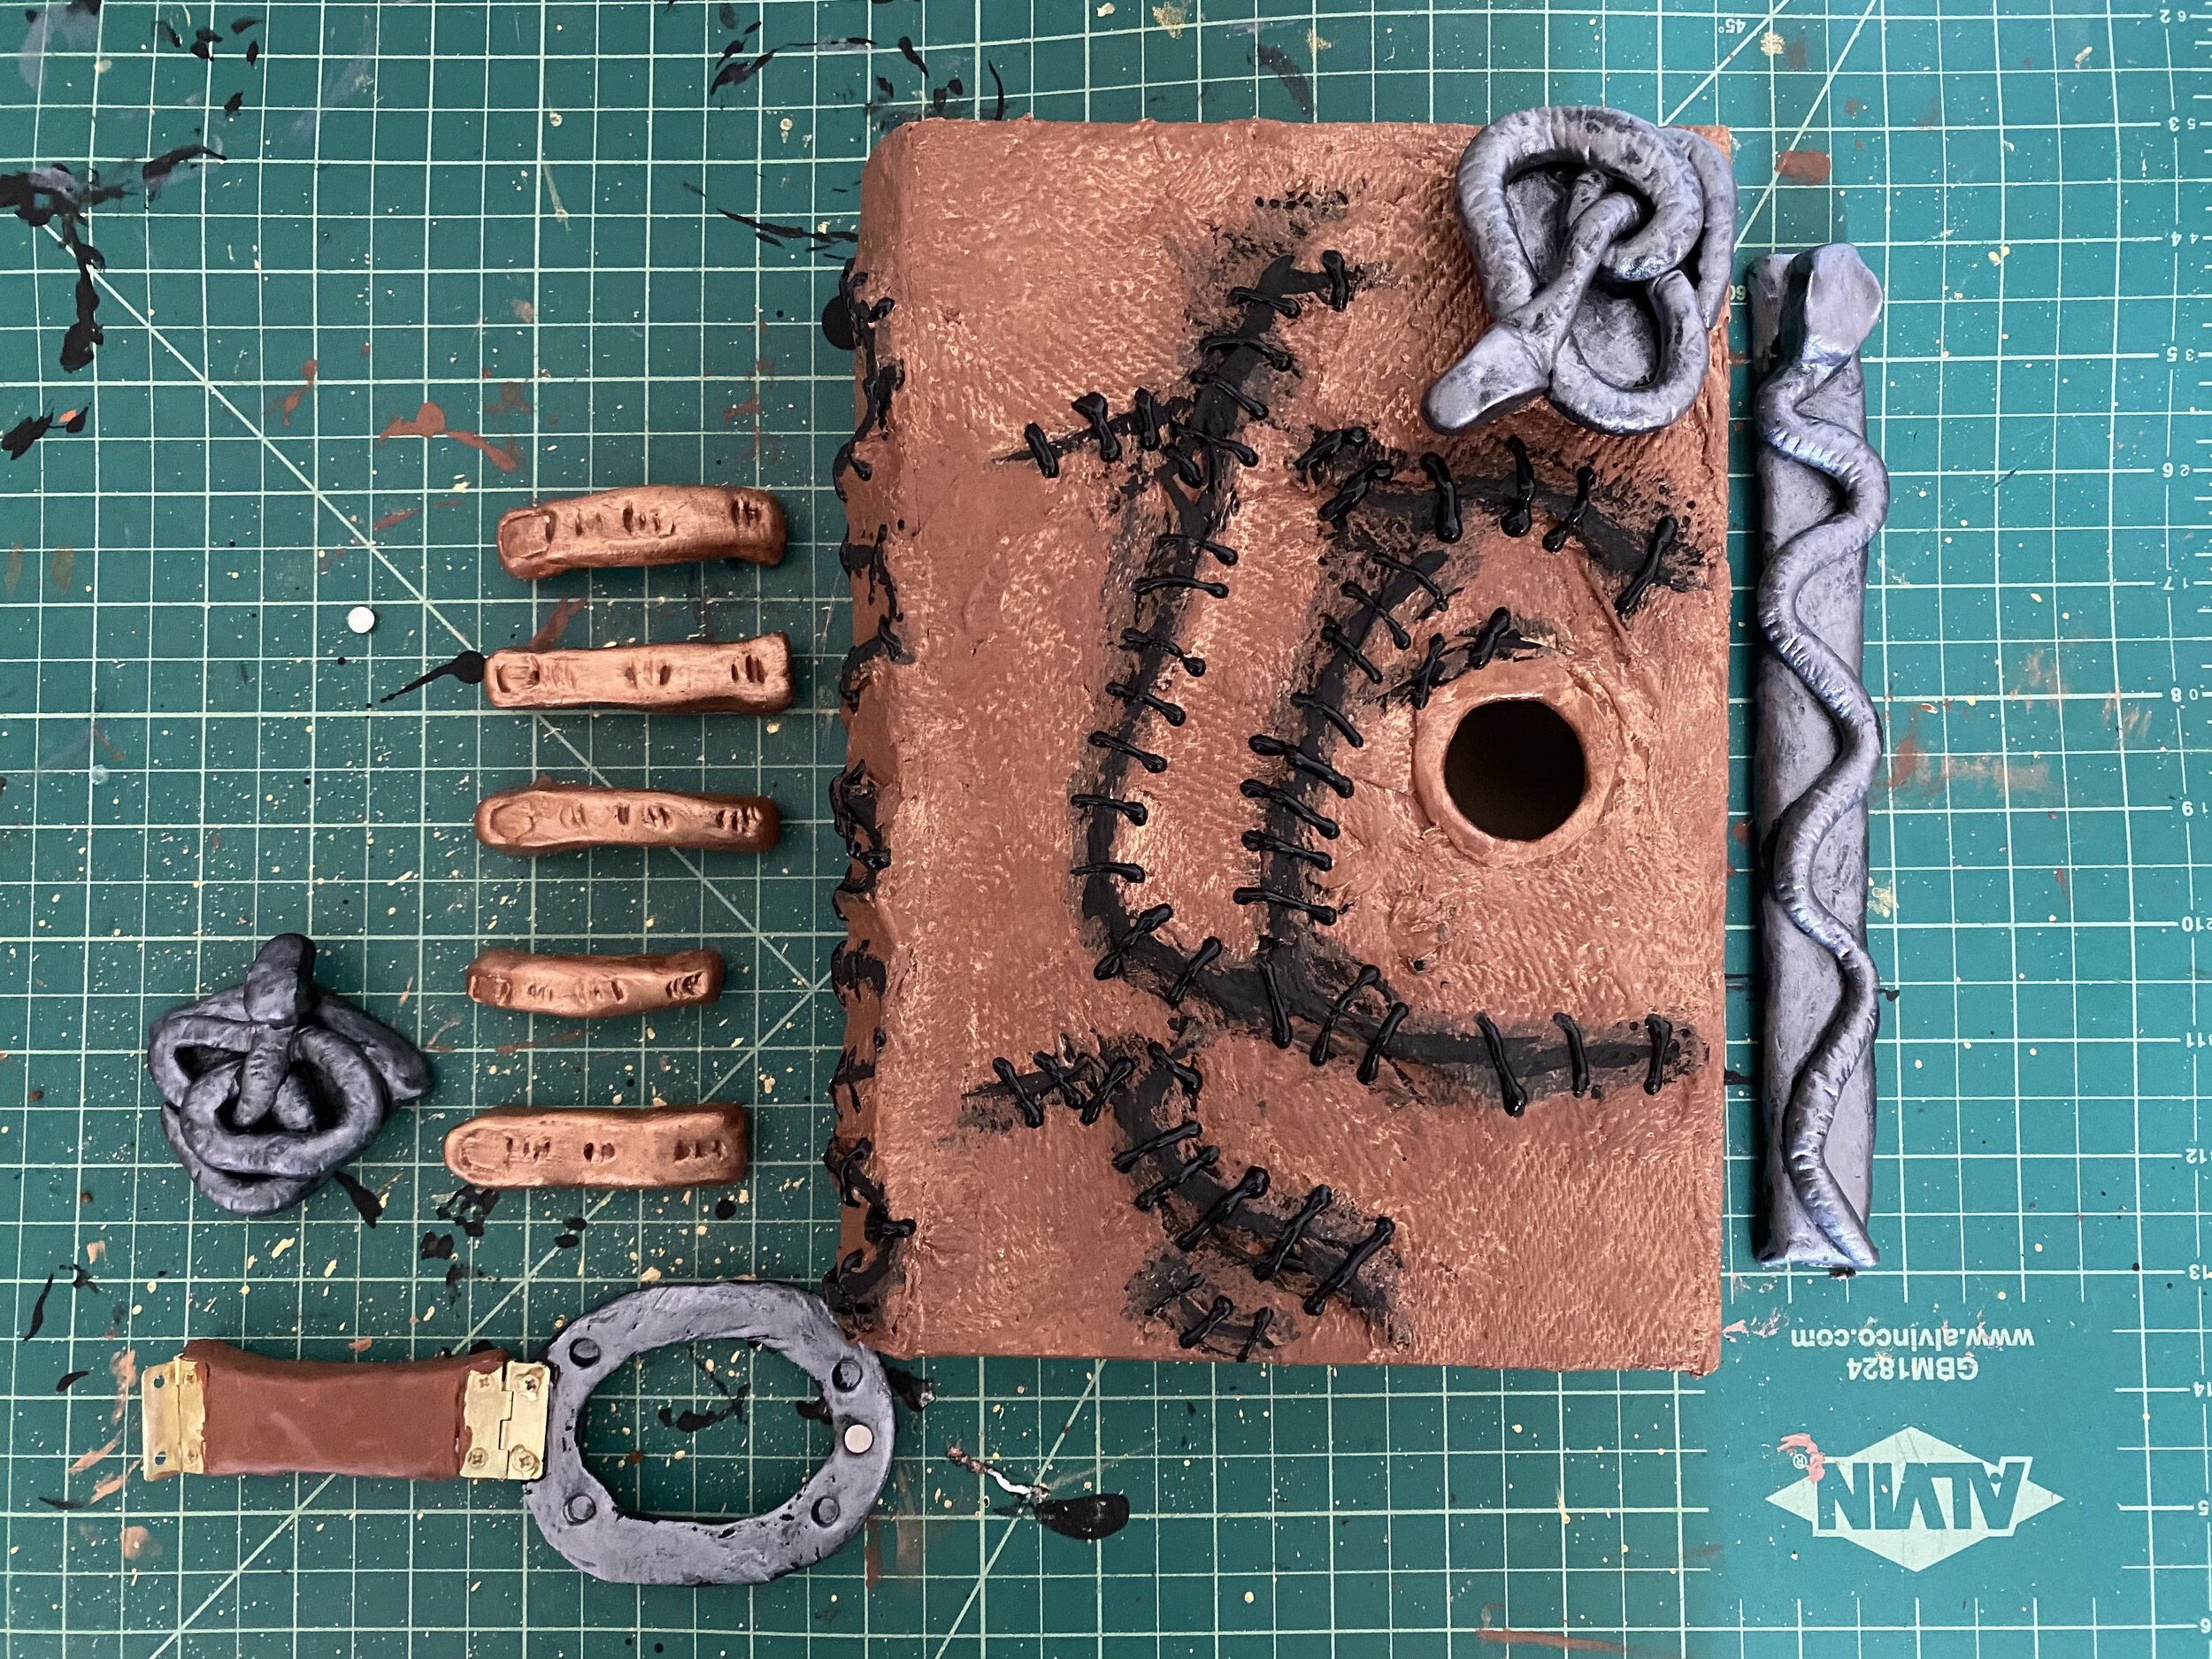
Black Puffy Paint (for stitches)
Paper Towel
Matte Modge Podge
Brown, Black, Silver or Grey, Bronze or Tan, White; Paint
A pair of hinges
A magnet and a thin magnet with an adhesive backing
Super Glue
Hot Glue Gun
Exacto Knife
Pencil
Sharpy
Paint Brushes
Eyeglass Screw Driver
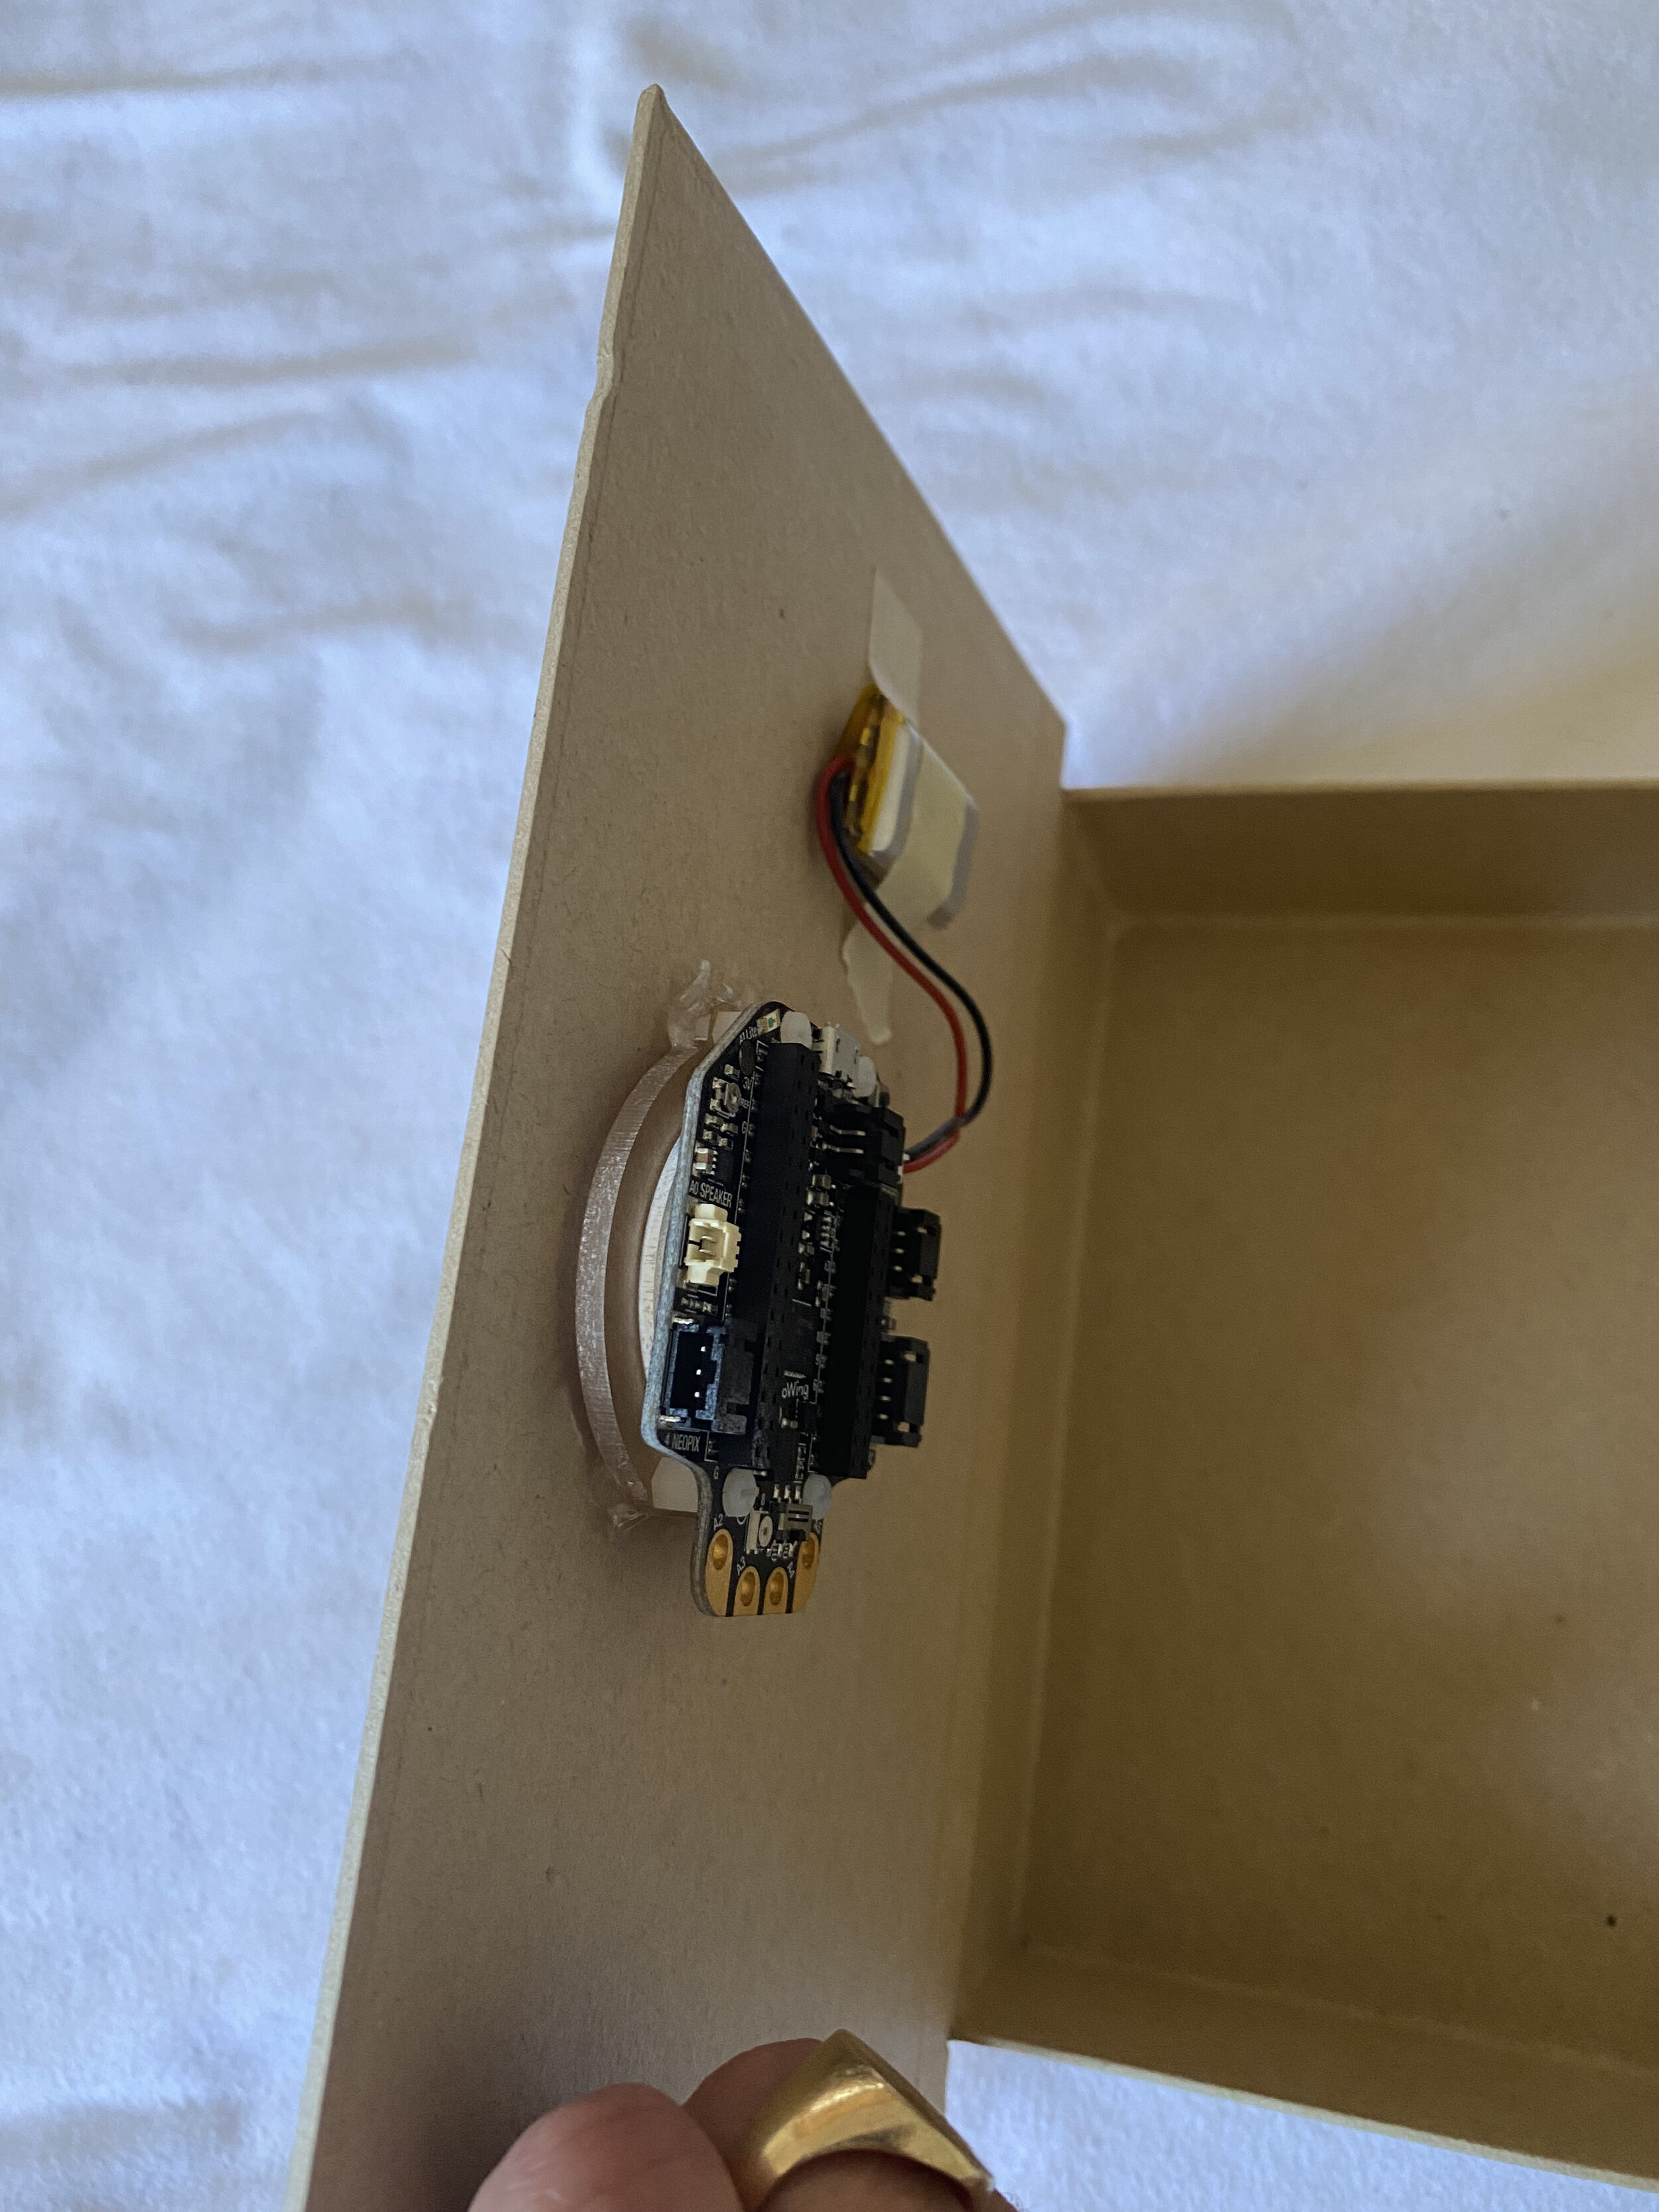
I purchased the eye from Adafruit, a tech company. It is called the HalloWing M0 Express. Here is a link.
I also purchased the convex glass from them, the Battery, and the Clear Acrylic Lens Holder + Hardware Kit for HalloWing. The setup was very easy.
I used instructions I found from Sea Lemon to design the actual book. Here is a link.

Step 1
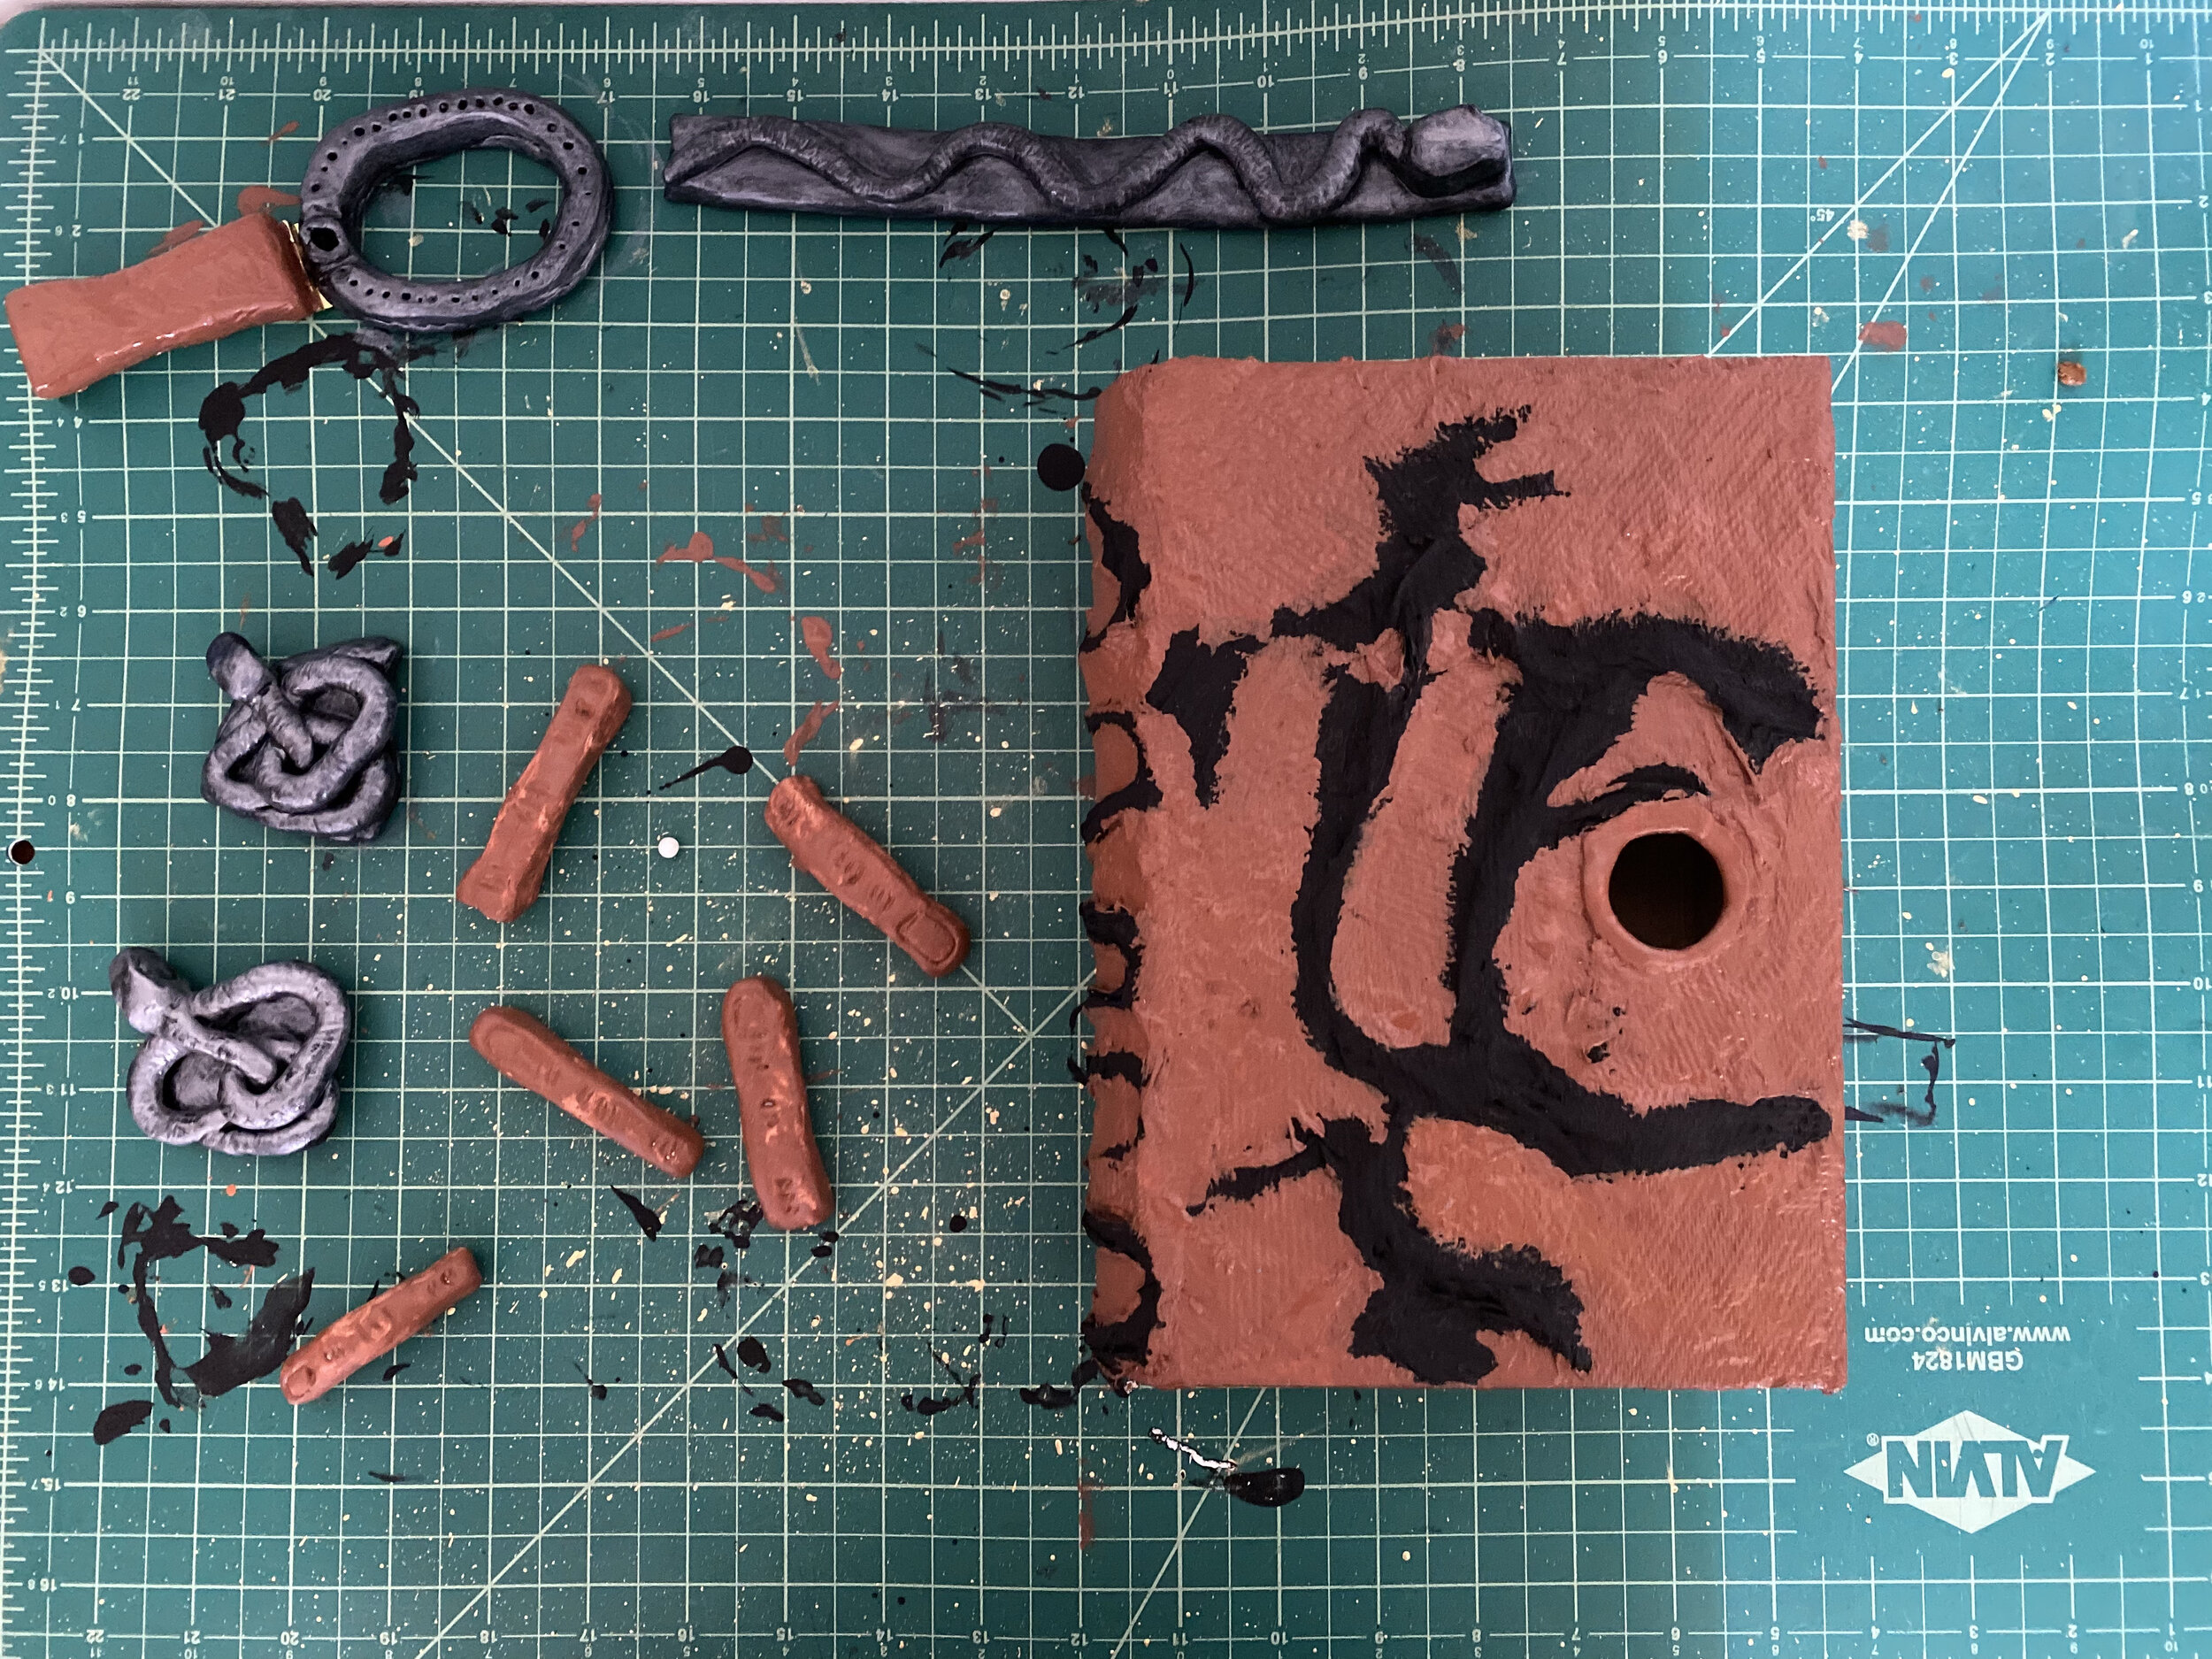
To get started I took the box and began mapping out where I wanted the scars to go. I then traced out the eyeglass where I wanted to place it on the cover and then made pie cuts using a pencil and Exacto knife to keep the perfect circle intact.
Step 2
I went over my scar marking with a sharpy so that I could see through the paper towel as I was applying the paper towel to make the scars. This method did not really prove to be effective because I ended up making new scar patterns than I had originally intended.
Step 3
I mounted the eye technology inside the frame provided. I then put super glue on the front bolts and stuck them to fit on the back of the cover where I had cut out the eye socket. I then used hot glue to further secure the eye technology in place. I used just a simple piece of masking tape to secure the battery so that I can easily transfer out the battery when I need to. Also, it helped when it came time to unscrew the eye from the back so that I could easily paint and further sculpt without damaging the eyeglass.


Step 4
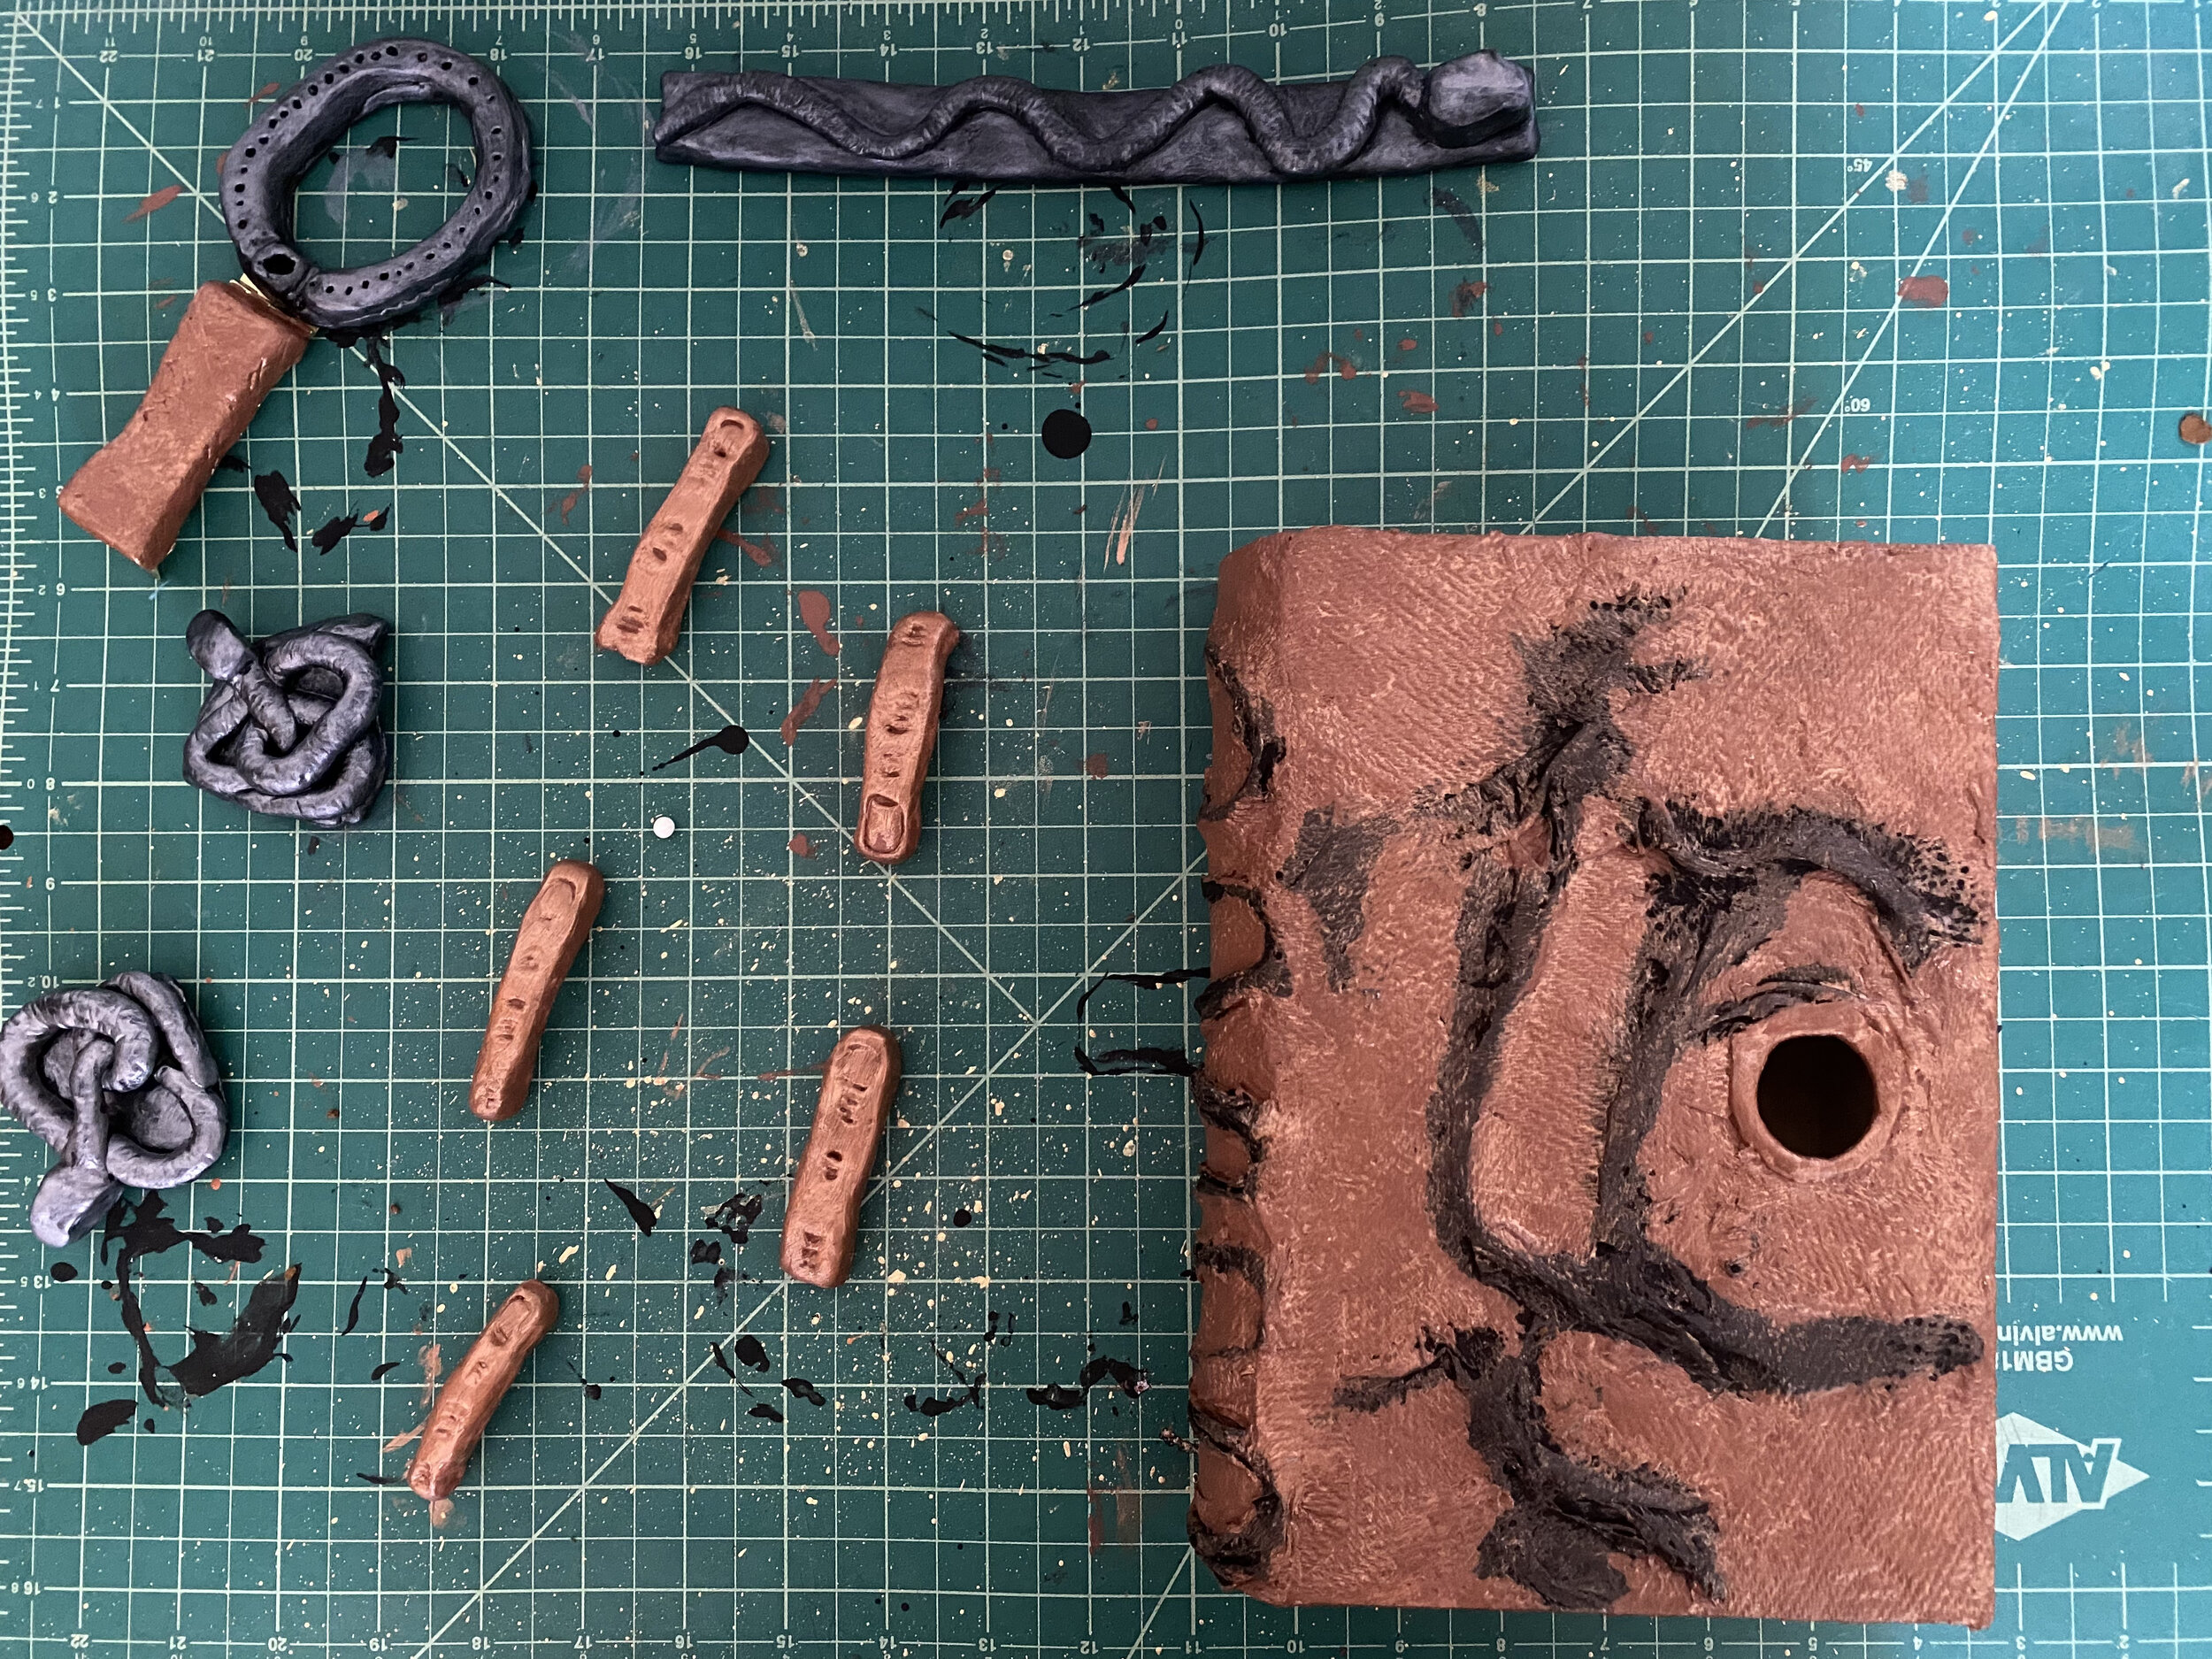
I began to apply the Modge Podge and paper towel to form the embossed ridges of the scars. I also put some modeling clay around the eye socket to hide more of the computer screen to finish off the effect.
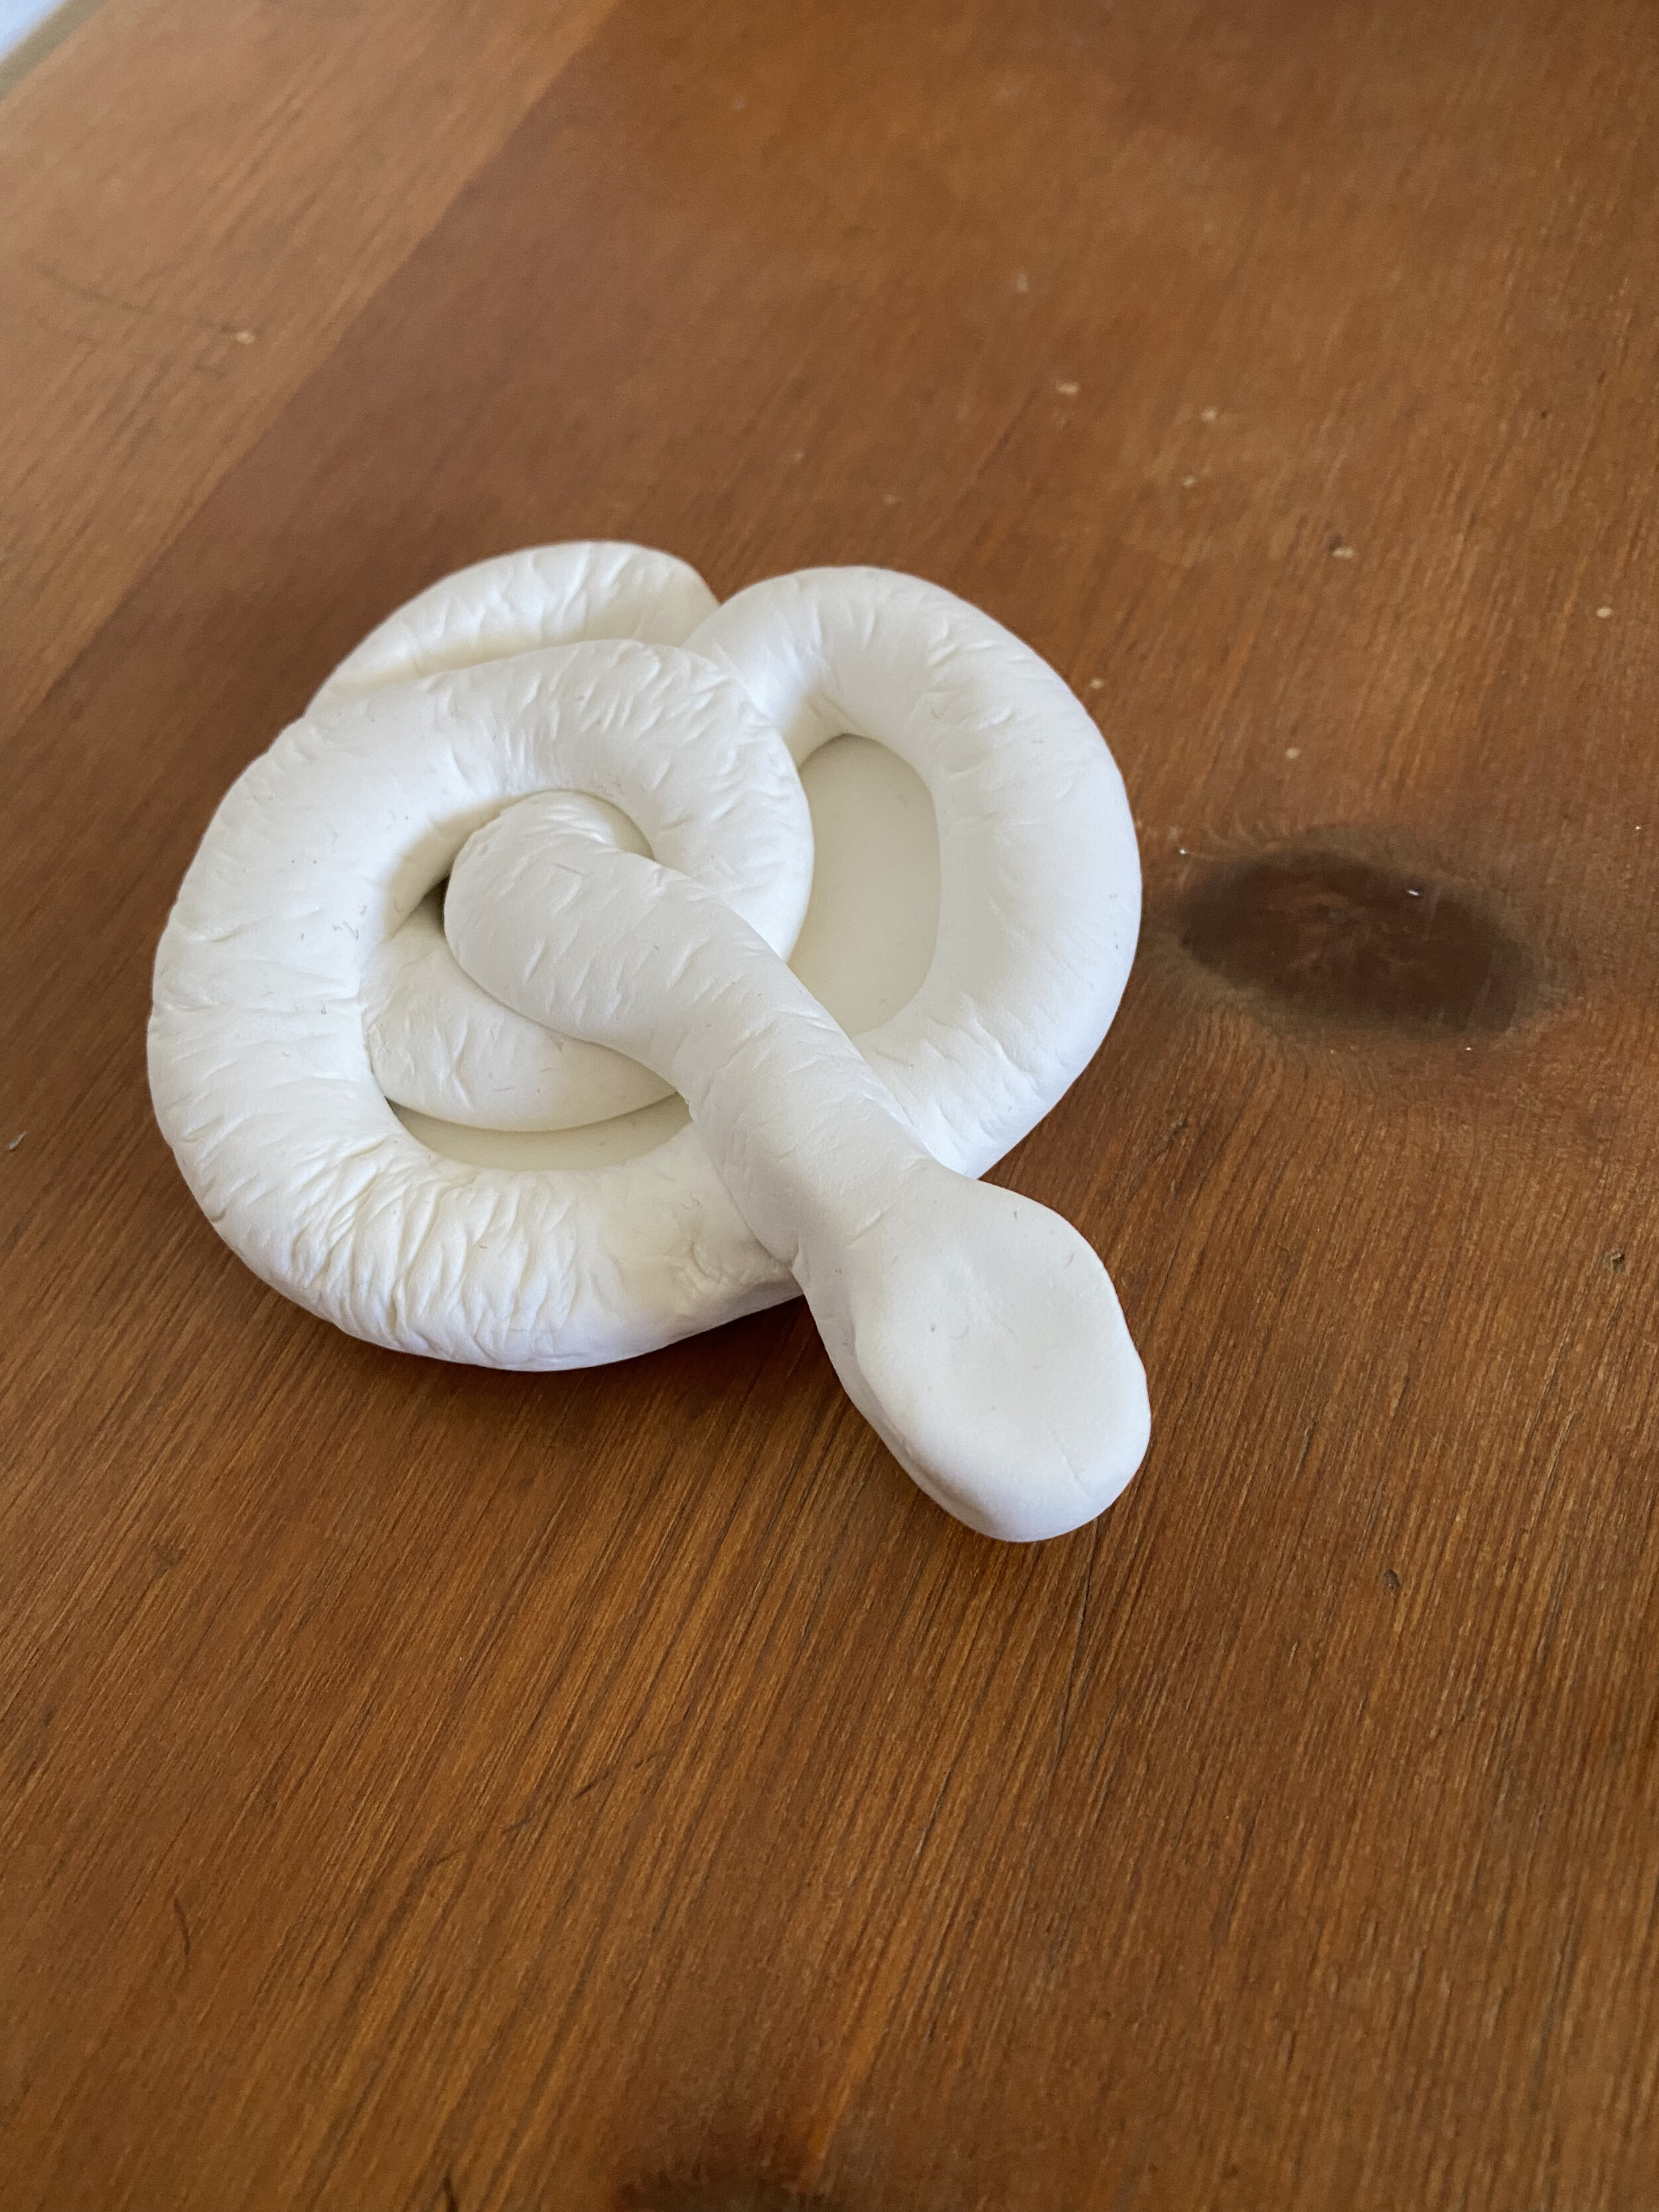
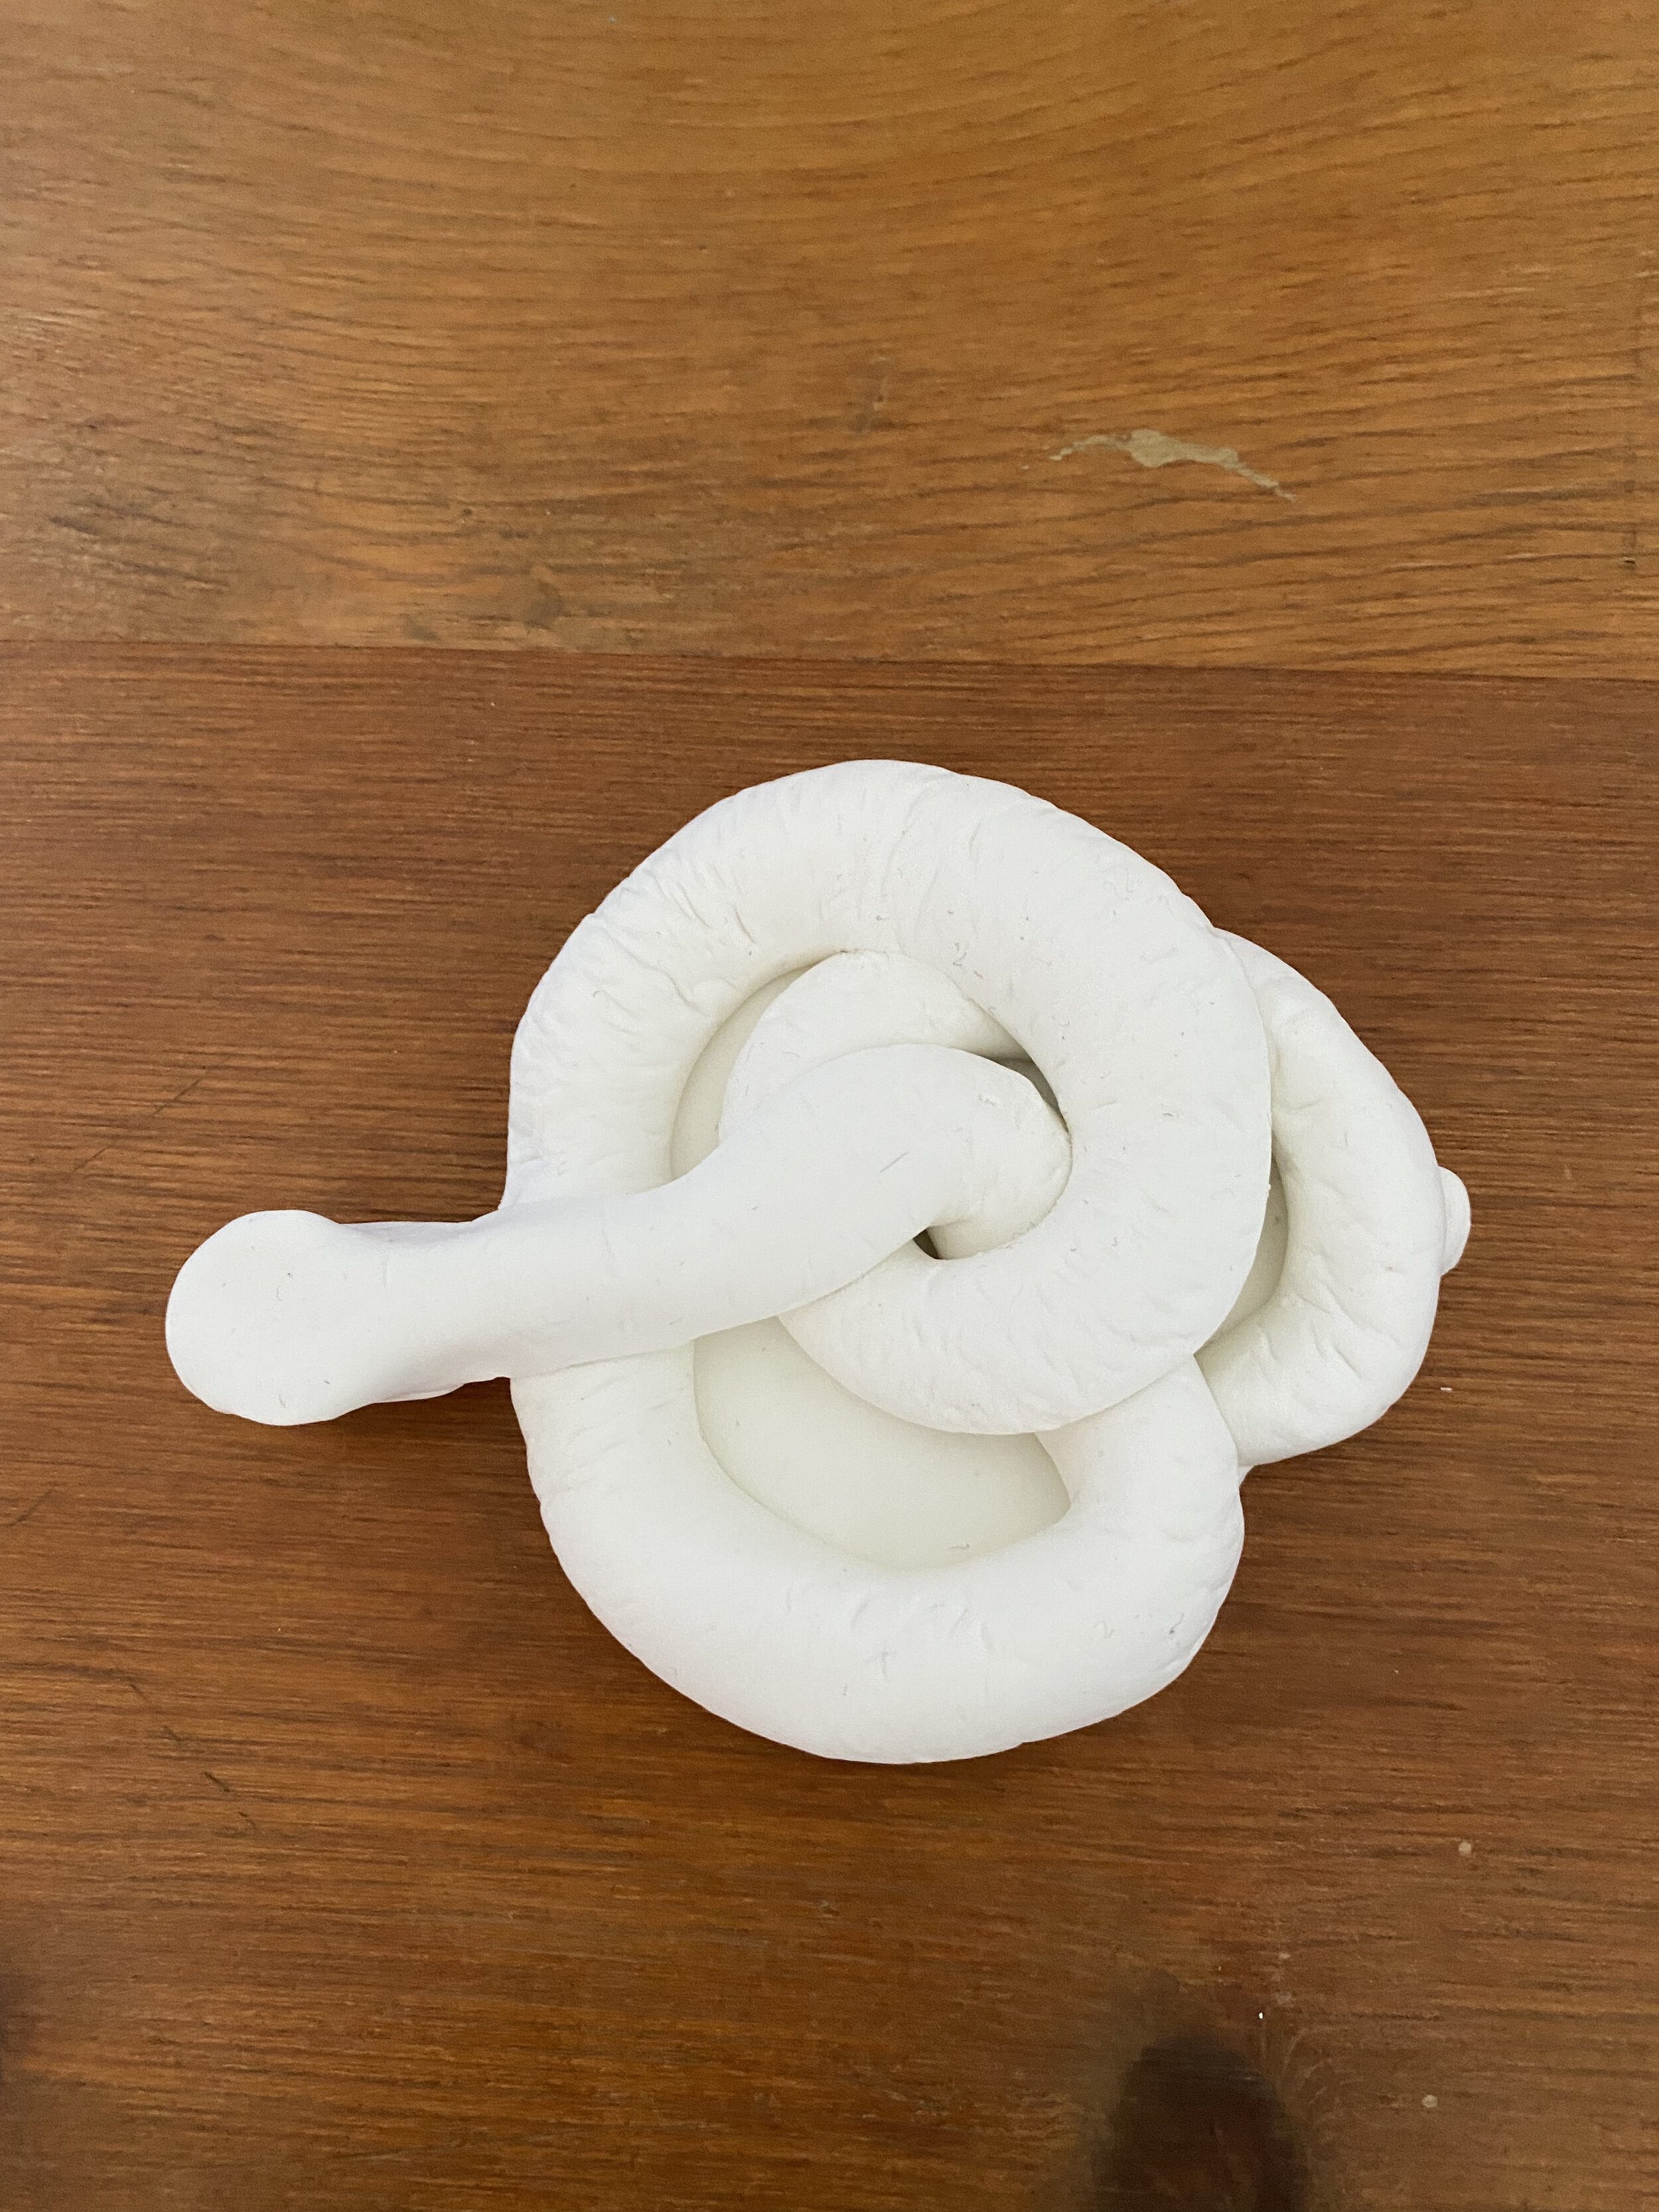
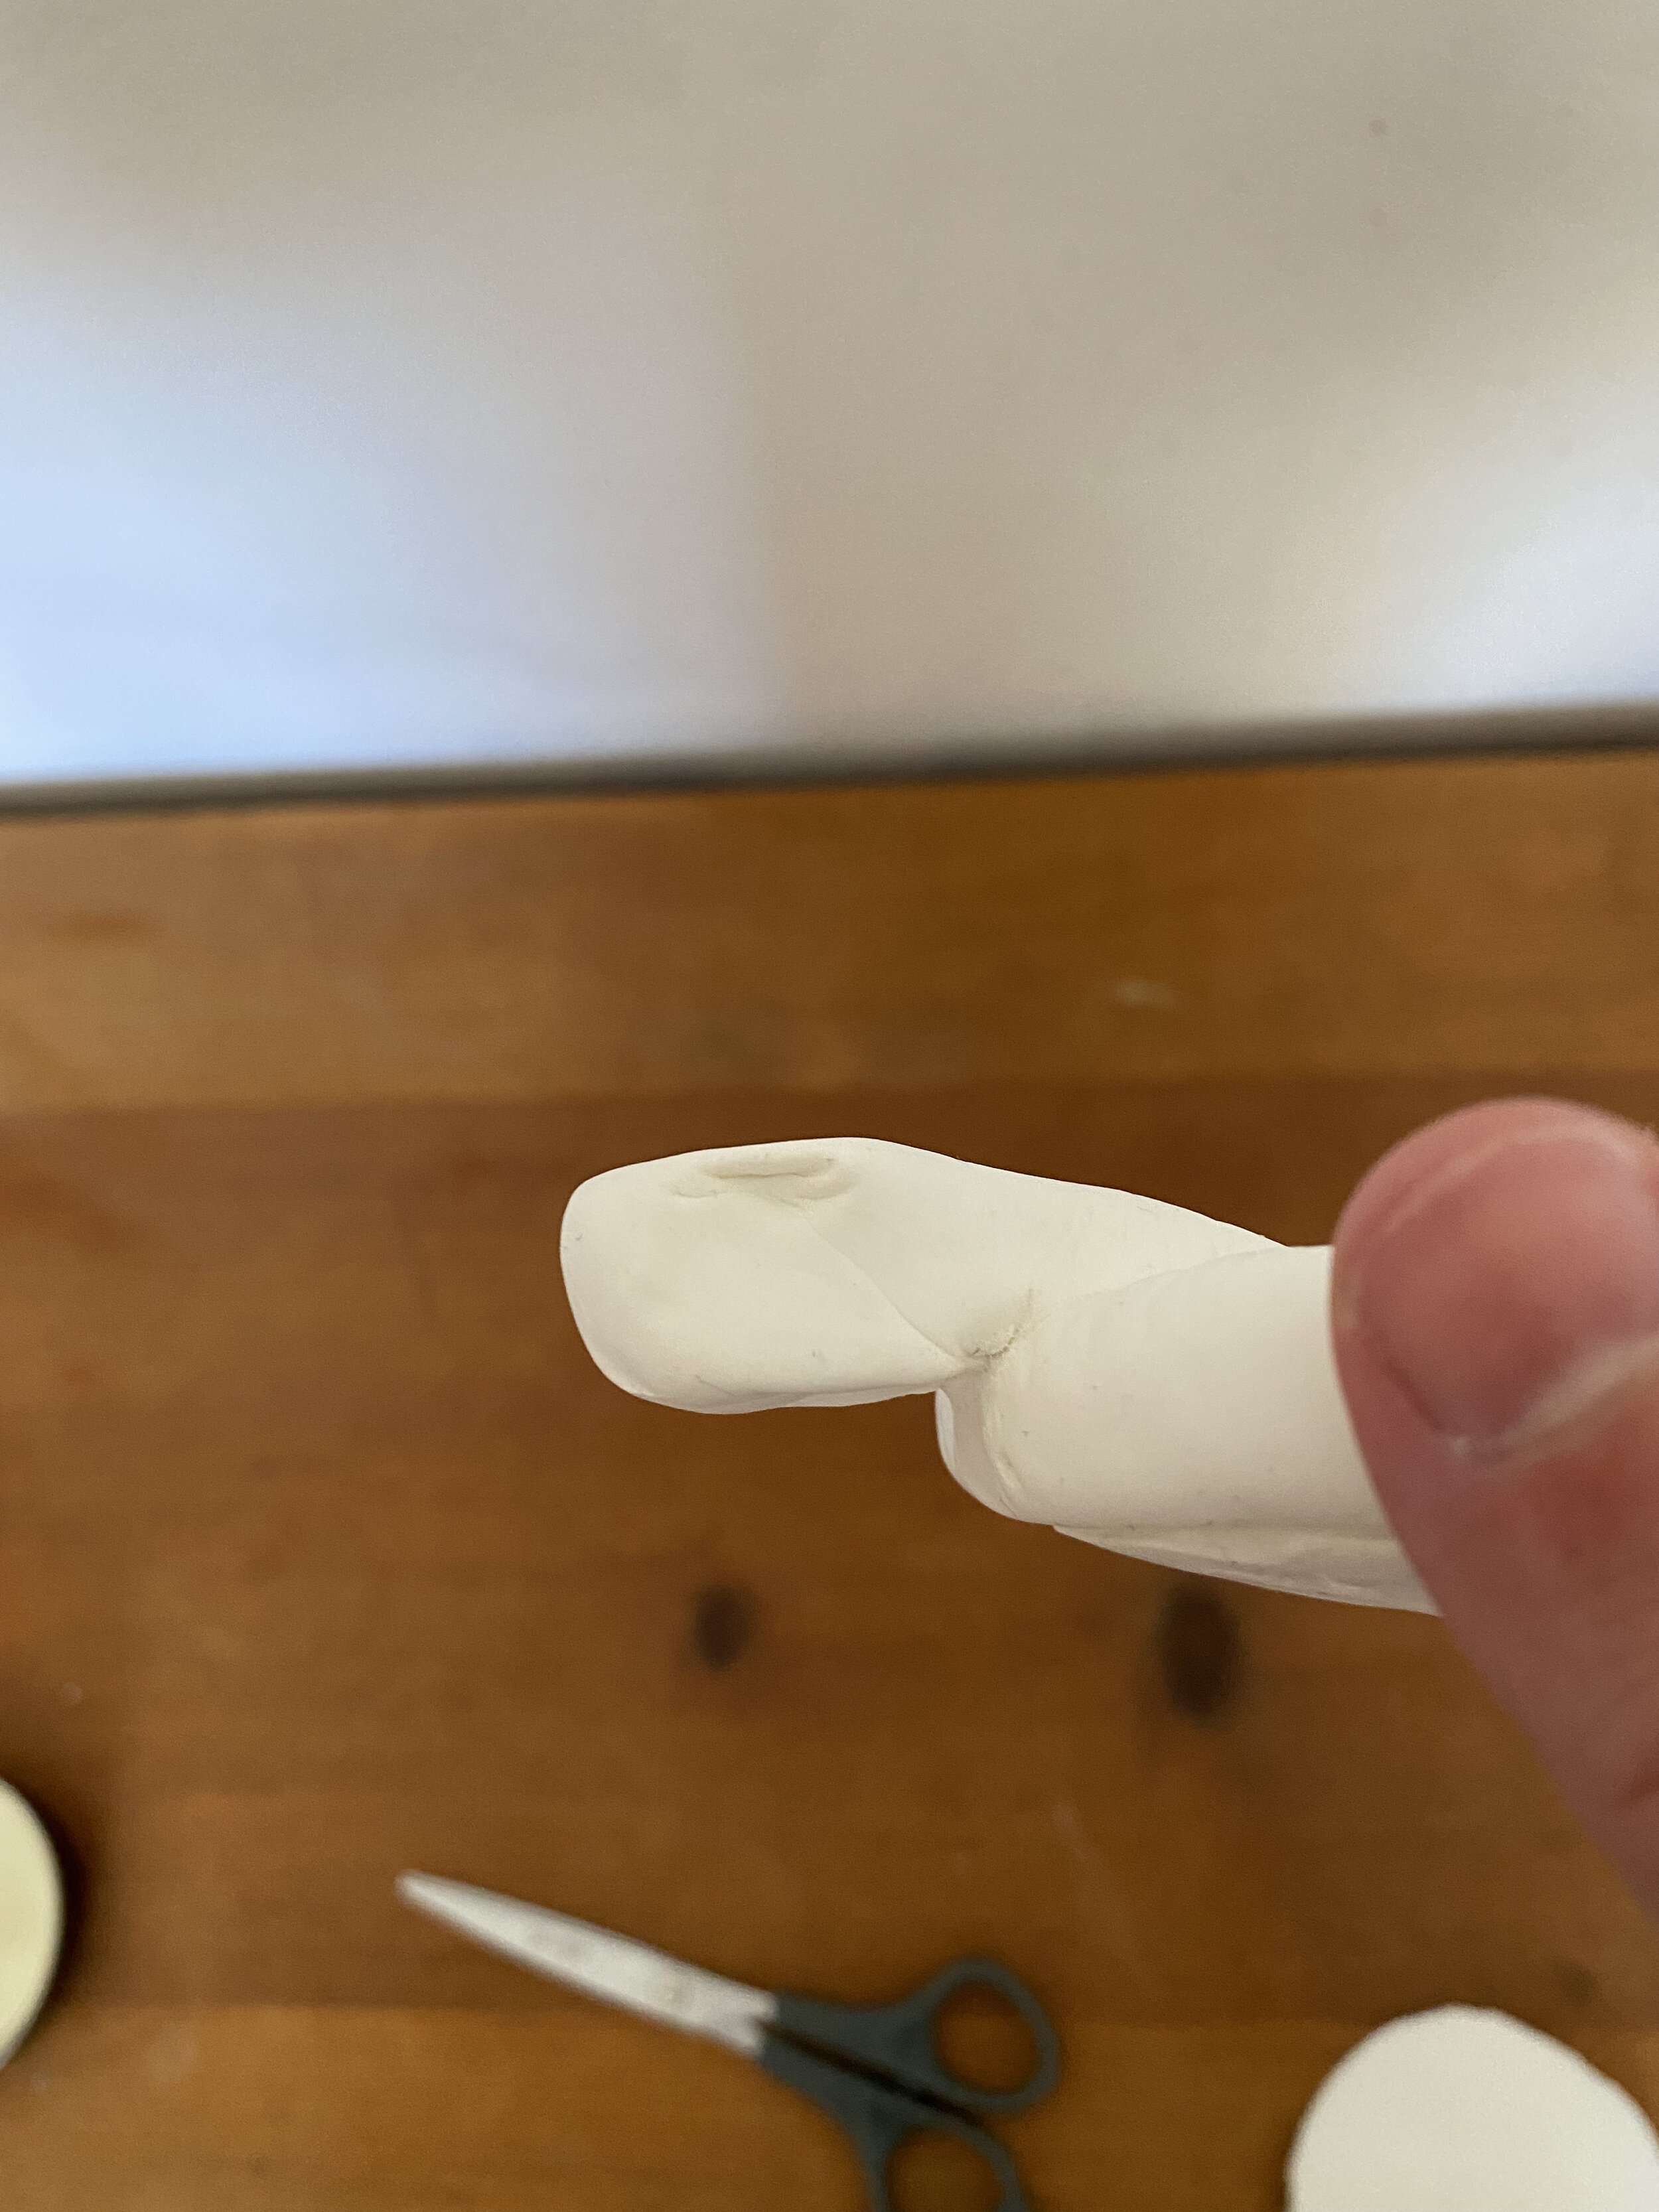
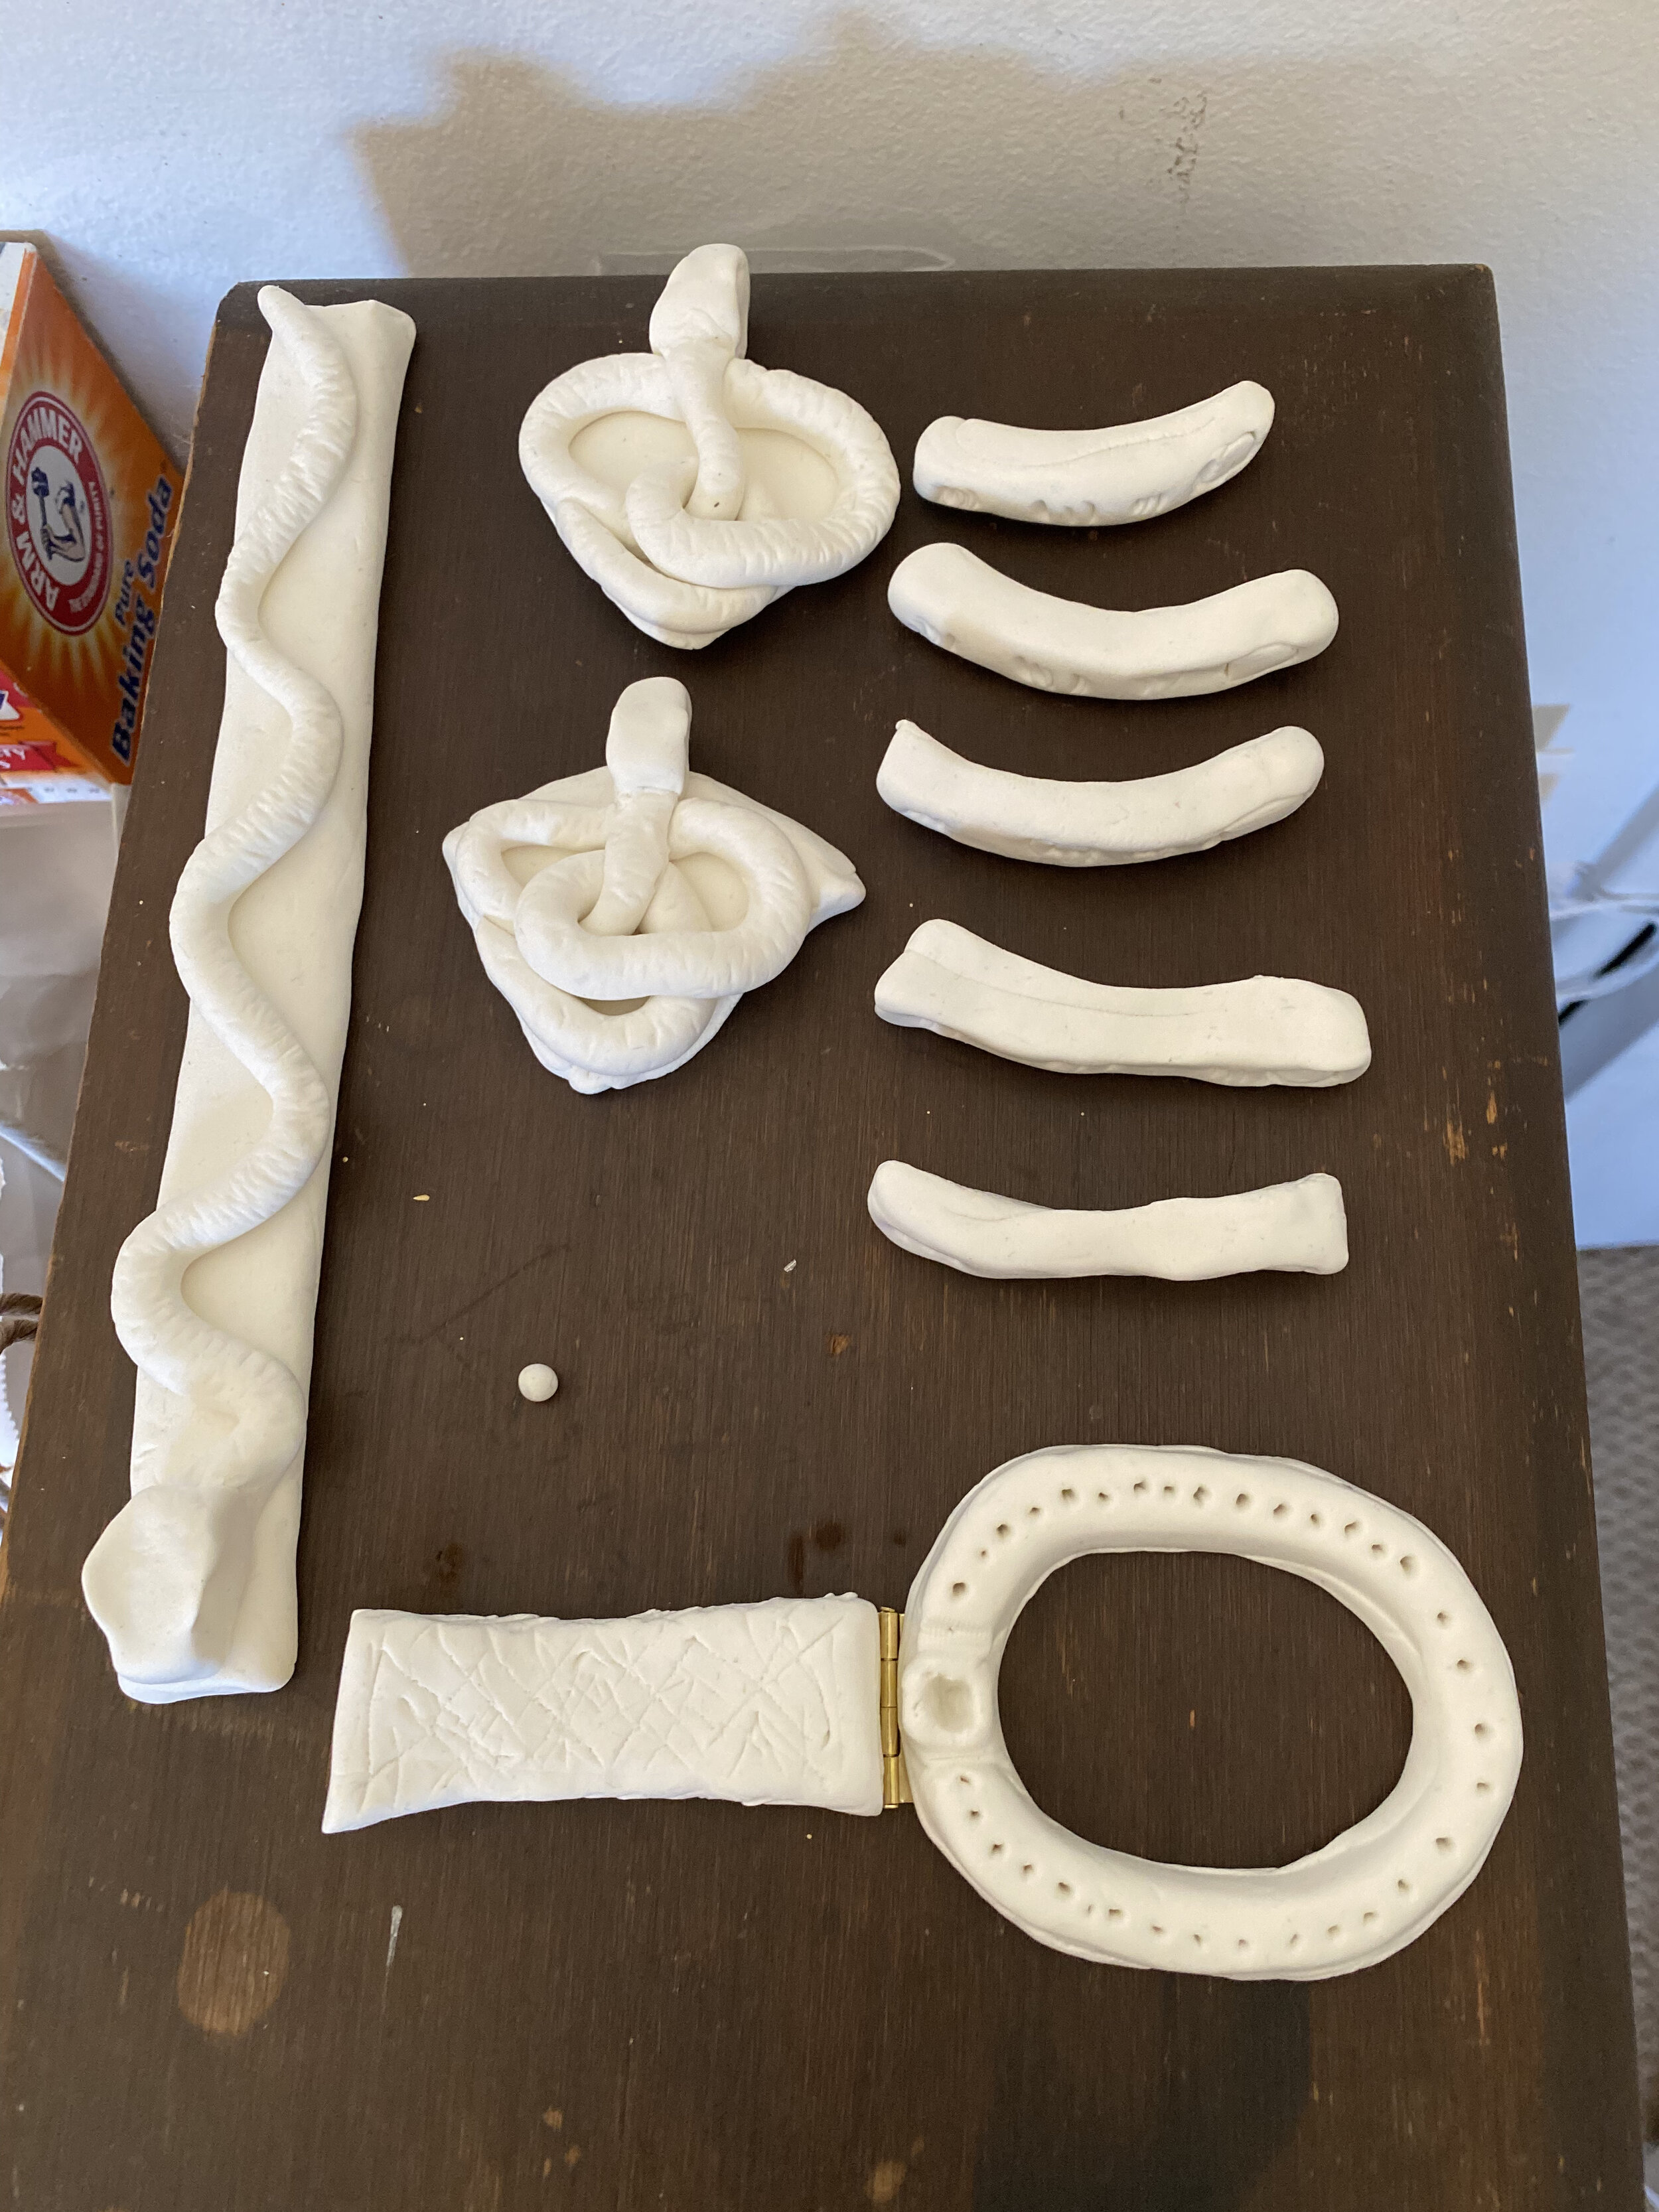
Step 5
I molded the accent pieces of the book. This ended up being the most difficult part of the whole thing for me. Getting the right shape of the corner snakes was cumbersome. When I finally got it figured out I placed it on the book to check the scale and it was too big. I ended up using it as an example to help get the proportions correct for the other two times.

Step 6
I then began painting each piece of the book separately, starting with a layer of black. I then gradually let it dry in-between layers of color.
Step 7
Once everything was dry I super glued the pieces in place. I attached the hinges to either end of the book clasp and then super glued the magnets. One on the book and one on the clasp.
Suggestion
Instead of using two magnets, I recommend using one magnet and a piece of metal or use a lighter strength magnet on the clasp itself like a thin refrigerator magnet.