Intro To Neon Art
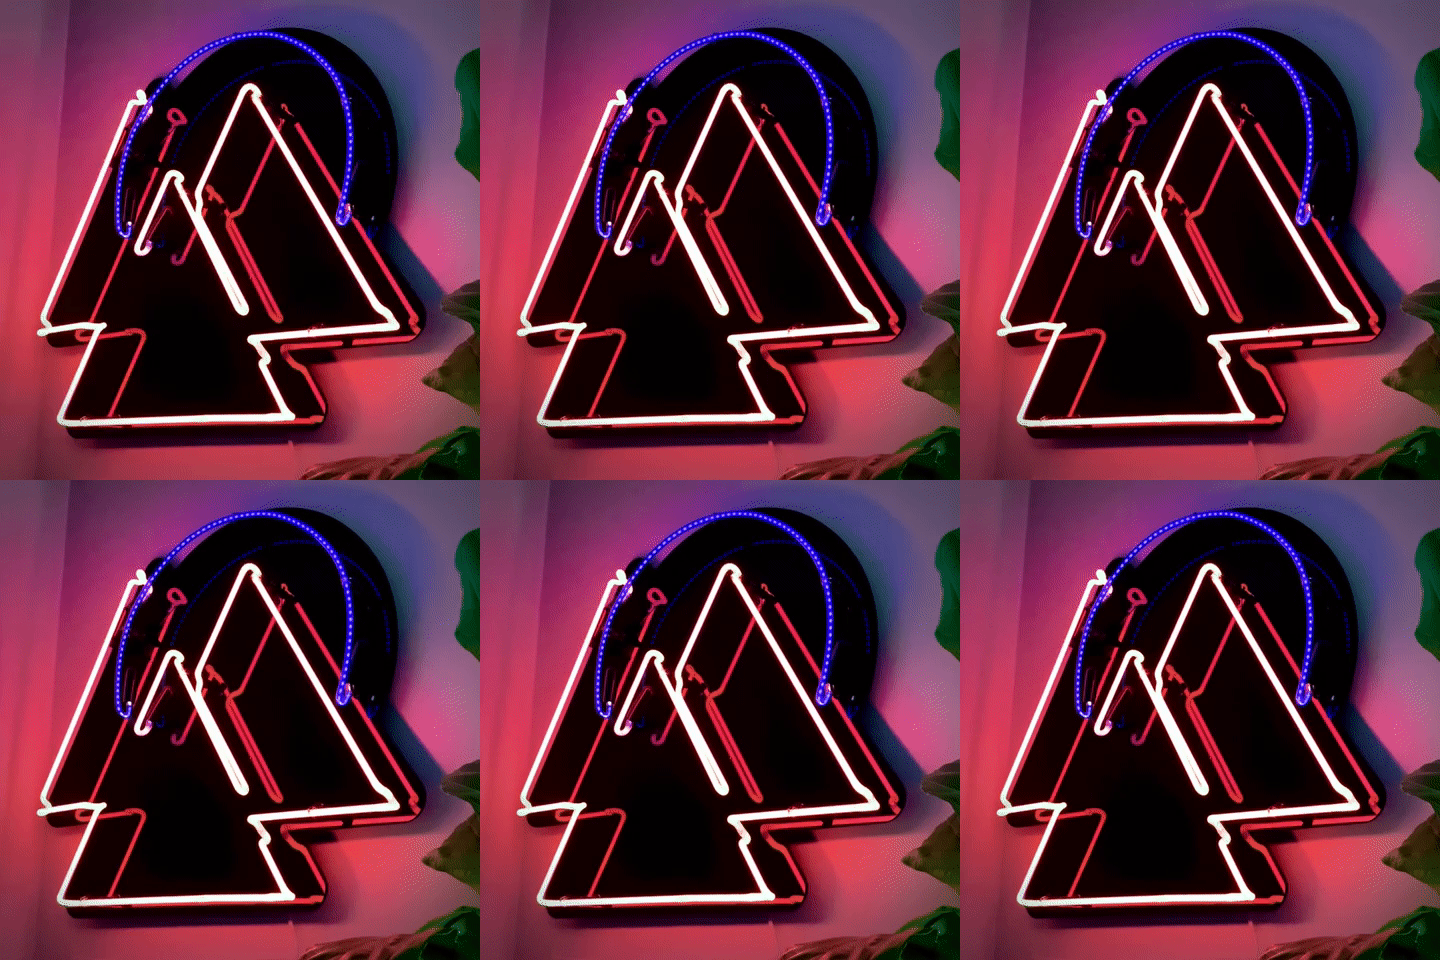
My Neon artwork takes inspiration from California Mountain Ranges and the Moon. I wanted to capture the feeling of the Ojai “Pink Moment” while being surrounded by mountains with the moon hanging over head.
The animated movement in the moon was an unexpected addition. When trying to find a transformer for my artwork, the piece started to animate and bead. One classmate of mine, Heather, said she found it to be soothing and peaceful to look at so I kept it. The artwork was built during my Intro To Neon Art Class offered at The Museum of Neon Art in Glendale.
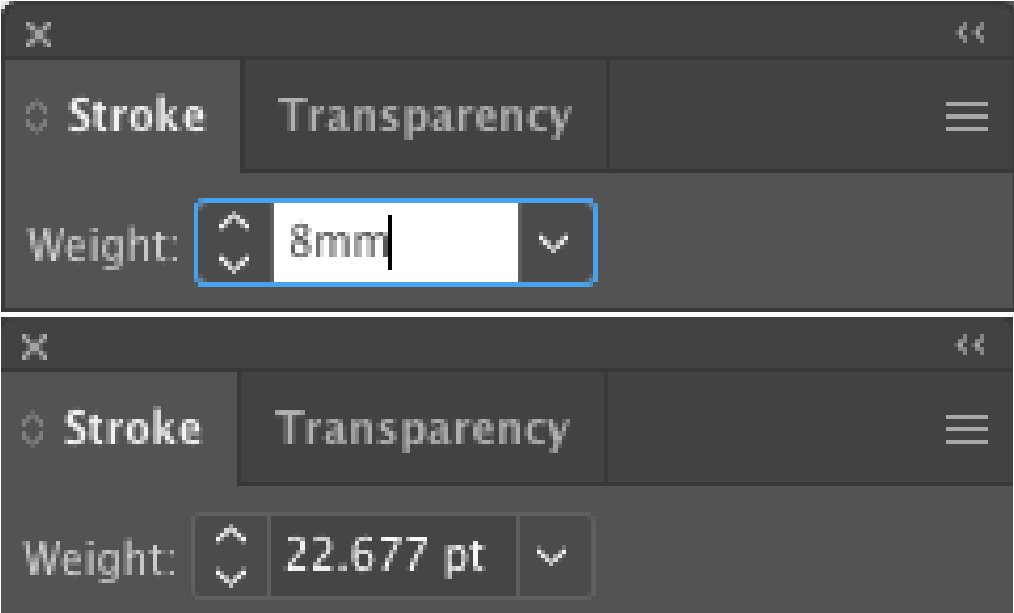
To design my piece I used Adobe Illustrator. I started with the pen tool and set my stroke to 8mm. Tip: manually type in mm and the stroke will automatically convert the Millimeter (mm) to point (pt). I chose 8mm to match the tubing size I was going to use.
Once done drawing my artwork I converted the strokes into shapes and then expanded shapes, This allows me to scale my artwork up and down without changing the 8mm stroke width.
Next I set the object to reflect. It is important to reflect the artwork otherwise the artwork will appear backwards when it is hung up on a wall. It is especially important if the piece has any words in it.
Last I grouped the artwork, selected it and then offset the path by a few inches so that my artwork would have an outline for the cutout of the backing of my piece.
I decided to offset the path, placing a few inches off the artwork so that the glass would have a comfortable resting area when the piece is in the process of being transported or mounted up on a wall. Insuring the glass would always be safe and far from the resting ground.
For my Neon Piece, I went with Salmon Rose 8mm glass tubes with an Argon gas. For the half circle, I went with an Uncoated Cobalt Uncoated Blue glass tube with a Krypton gas. The smaller the tubing the brighter the gas. Krypton is a white gas and Argon is a light blue. I didn’t end up using any Mercury. Some people add Mercury to make the piece brighter but I felt my piece was bright enough.
For my power supply, I turned to to Tech 22 for a Model 3, Bead-maker. For my neon backing, I used a black vinyl that has a reflected gloss to it that I got from our professor, David Otis Johnson of Leafcutter Studios. He also cut the piece of vinyl for me.
To mount the glass to the vinyl, I used copper wiring and glass neon tube supports, with a metal base and screws that I then spray painted with black gloss to match the vinyl.
Pictures and videos from class:


